Showing posts with label Upcycled. Show all posts

Tuesday, May 22, 2012

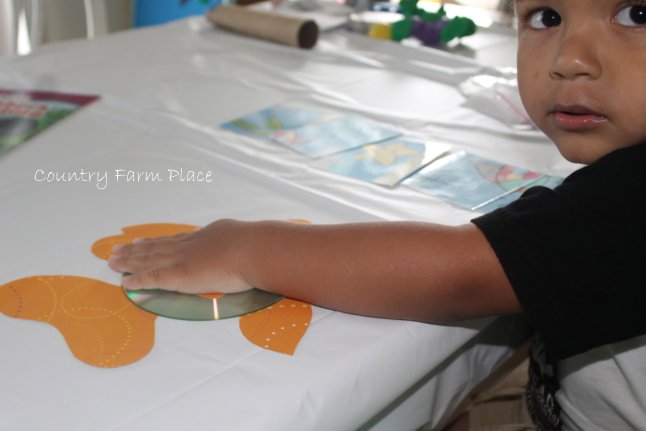
Rainbow Fish CD Suncatcher


Continuing our "under the sea" theme, we did a little up-cycled fish craft. Here's what you need to make one of your own...

Supplies:
CD
Googly eyes
Scrapbook paper
Tape or Glue
Scissors
String/Hole Punch (optional)


Draw and cut out the pieces of the fish on scrapbook paper.


Tape/glue all of the pieces, except the side fin, on to the front of the CD...which will now be the back. 


Secure the side fin with tape/glue over the hole in the center of the CD, on the shiny side...which is now the front of your fish. 


Add the googly eye, and punch a hole in the top fin for the string. 

Wednesday, March 14, 2012

Stuffed Paper Bag Clover


For Valentine's Day, I intended to make this grocery bag valentine; but never got a chance. The days seemed to just fly by...

So I decided to try it out a 4-leaf clover for St. Patrick's Day.


If you made my Lucky Clover Bunting, then all you need is 2 of the paper clovers you cut out from the grocery bags. 

If you didn't make it, well, that's kinda not cool. 

No, I'm kidding. 

{Or am I?} 

All you need to do is trace this clover pattern on to a grocery bag, and cut it out. Then paint it, and let dry before using. I also mentioned in the last post that when the paint dries, the edges begin to curl. My solution was to place a few heavy books {my handy year books} on top to make them flat again. 


So, we all know that I am a novice seamstress. Because of that fact, I decided not to use my sewing machine to sew the pieces together like Camilla over at Family Chic did for her heart. 

Let me just say, that was a big mistake. Huge. 

I started working on this, like, I don't know, 2 weeks ago. I'm not a very fast hand sewer either.

However, don't let my lack of experience and slowness deter you from this craft. It really is cute, quick, and easy {if you use a machine, or sew pretty fast by hand}.


St. Patrick's Day is close! What fun things have you been making for the day?


Monday, March 12, 2012

Easter Egg Maracas

What was I thinking?

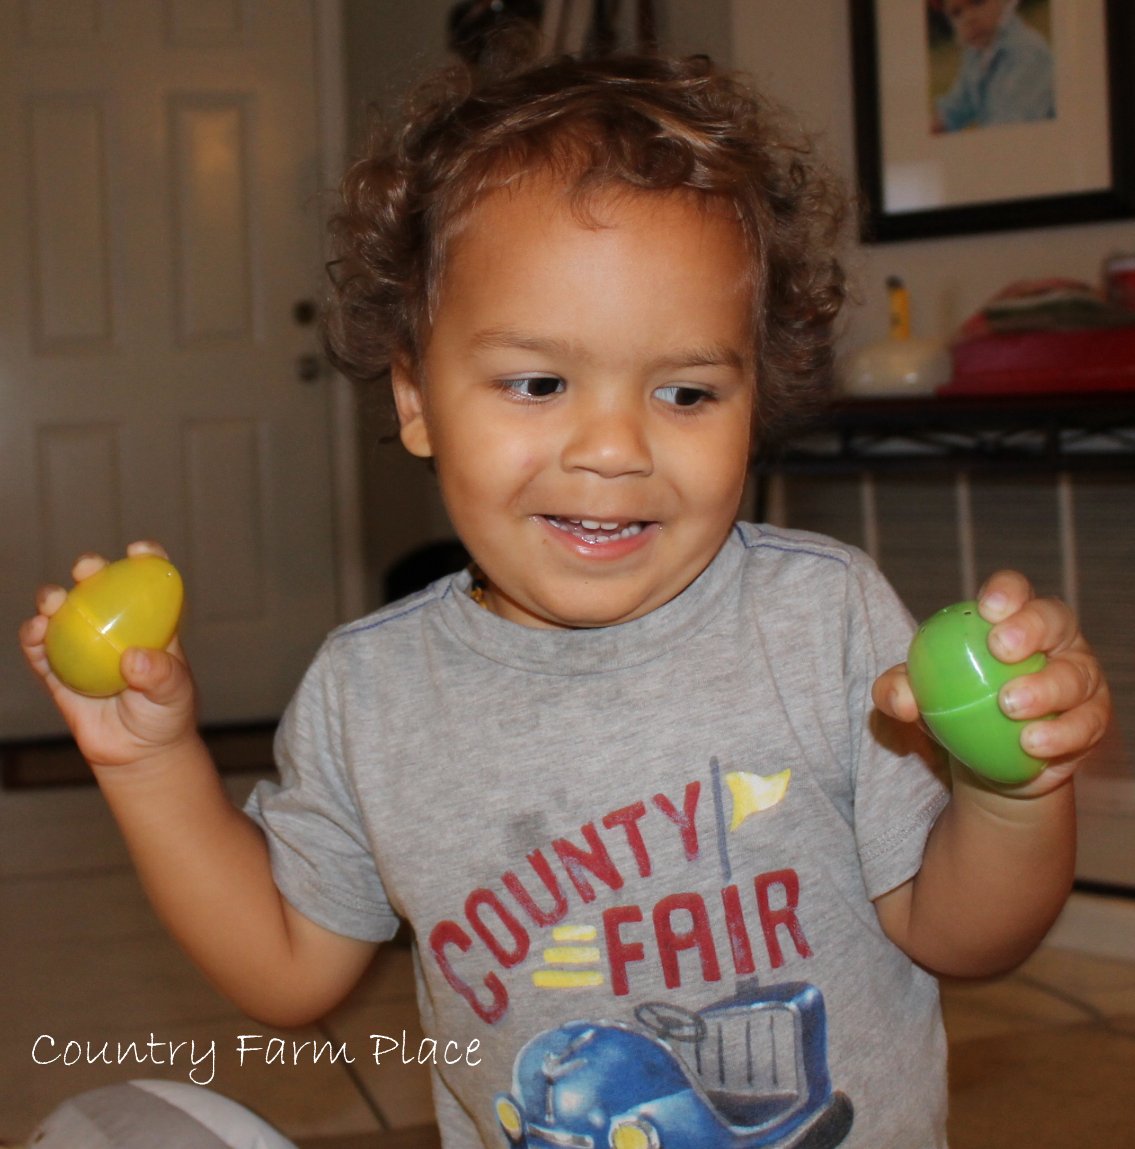
Like this kid really needed something else in the house to make a loud noise. 


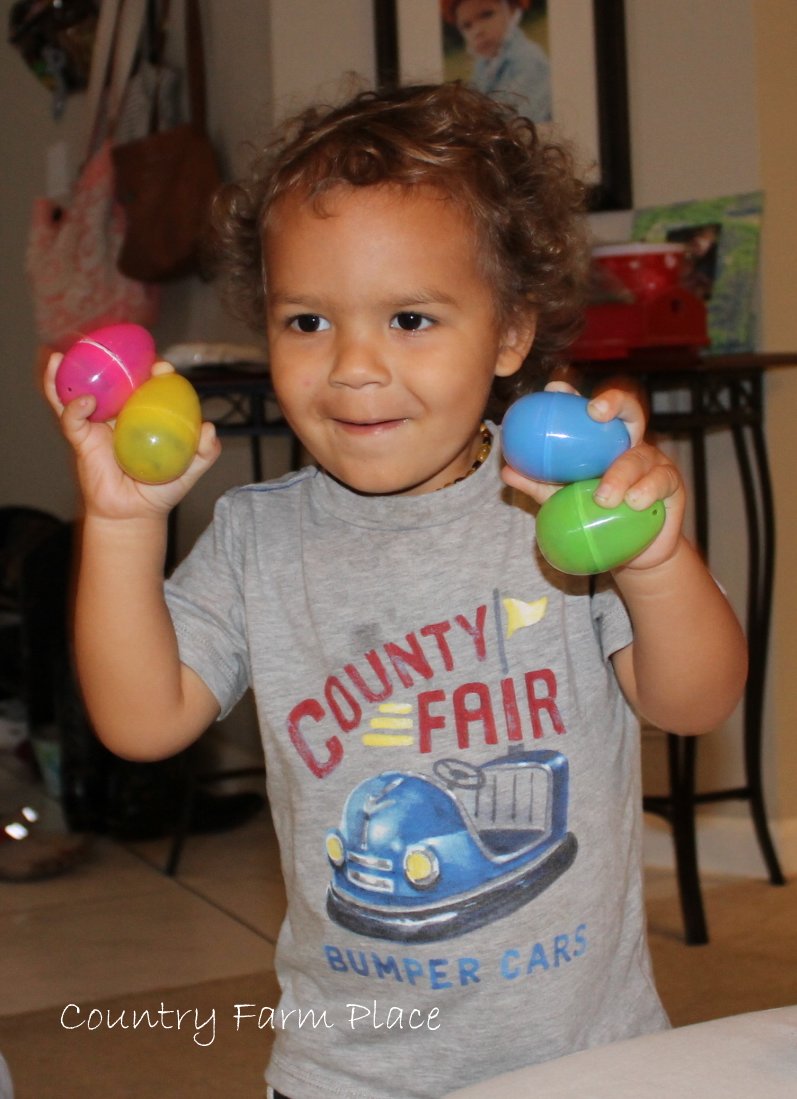
Remember my box of Easter eggs?

Of course I will save some for the Easter bunny to hide, but there is no way she (the bunny is a she in this house) will be hiding all of them; so I've slowly been thinking of uses for all of them.

I used a few for the felt eggs.


I borrowed some beans from the box Bubba plays with to fill a few eggs. 


Then, I glued them shut so he couldn't get them open and make a huge mess. 

Remember to let the glue dry completely before letting your little one play with them. I have to mention that Bubba grabbed them before they were dry and managed to pop one open....so yea. it is worth mentioning. 


Even though they were glued shut, he still tried to open them because what is making the noise is far more interesting than shaking them, of course. 

Happy Noise Making!

Friday, March 9, 2012

St. Patrick's Day Decor: Lucky Clover Bunting


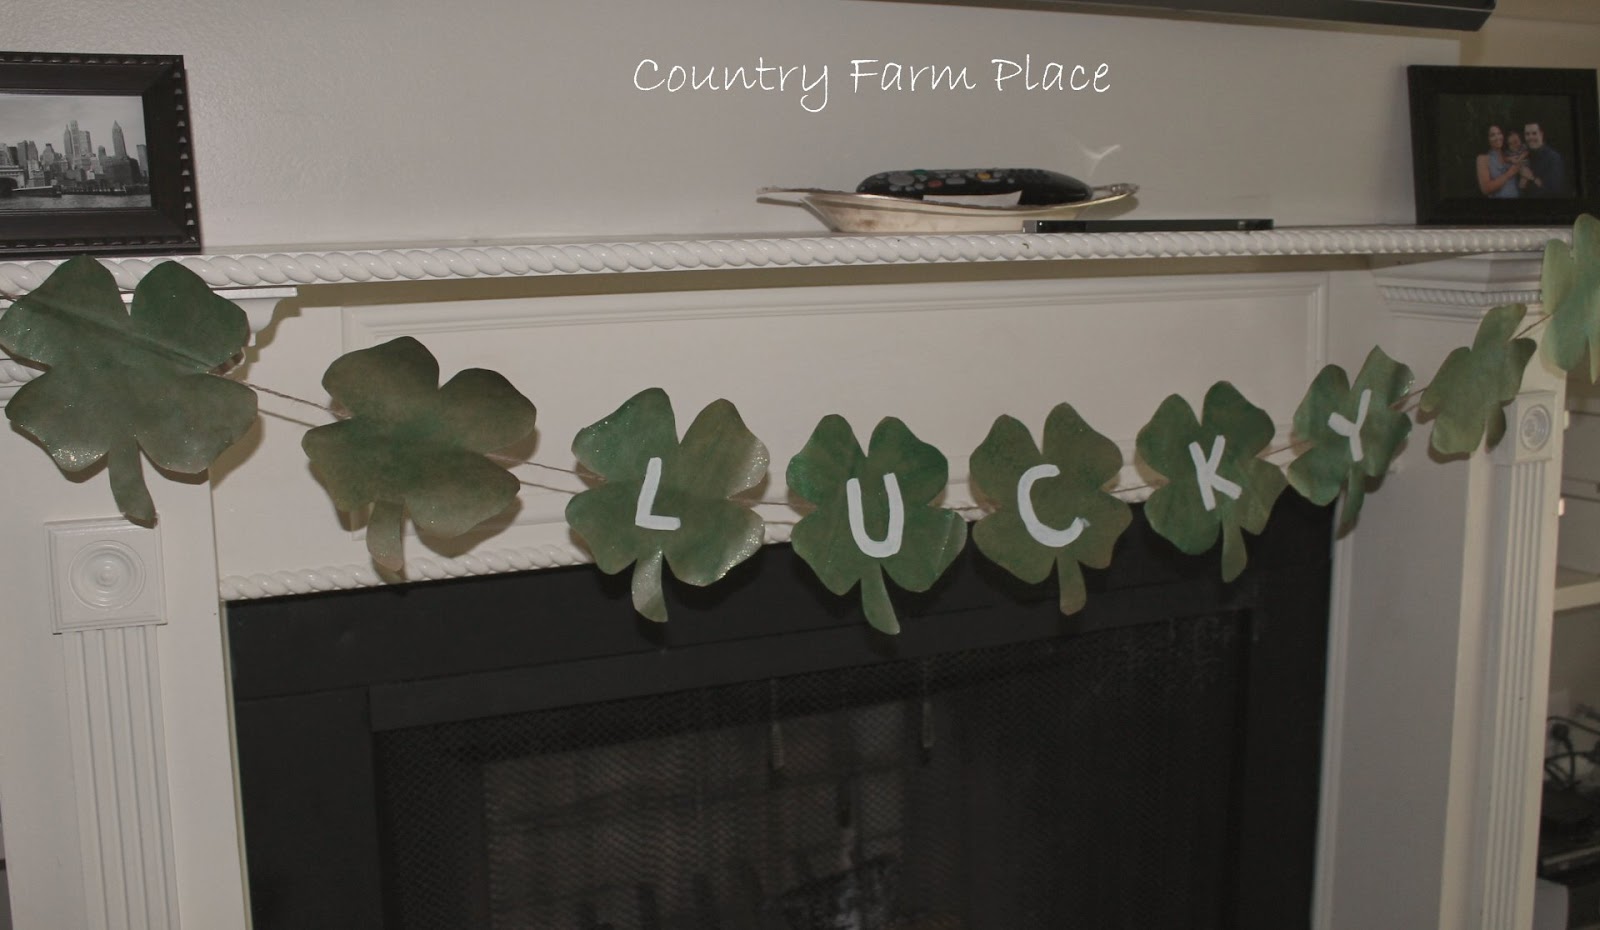
 I figured it was high time for me to jump on the bunting making band wagon. And what better way to start than with an insanely easy St. Patrick's Day clover bunting. 

I used this template for the clover, and traced it on to a paper grocery bag. 


I got 8 out of 1 bag. 


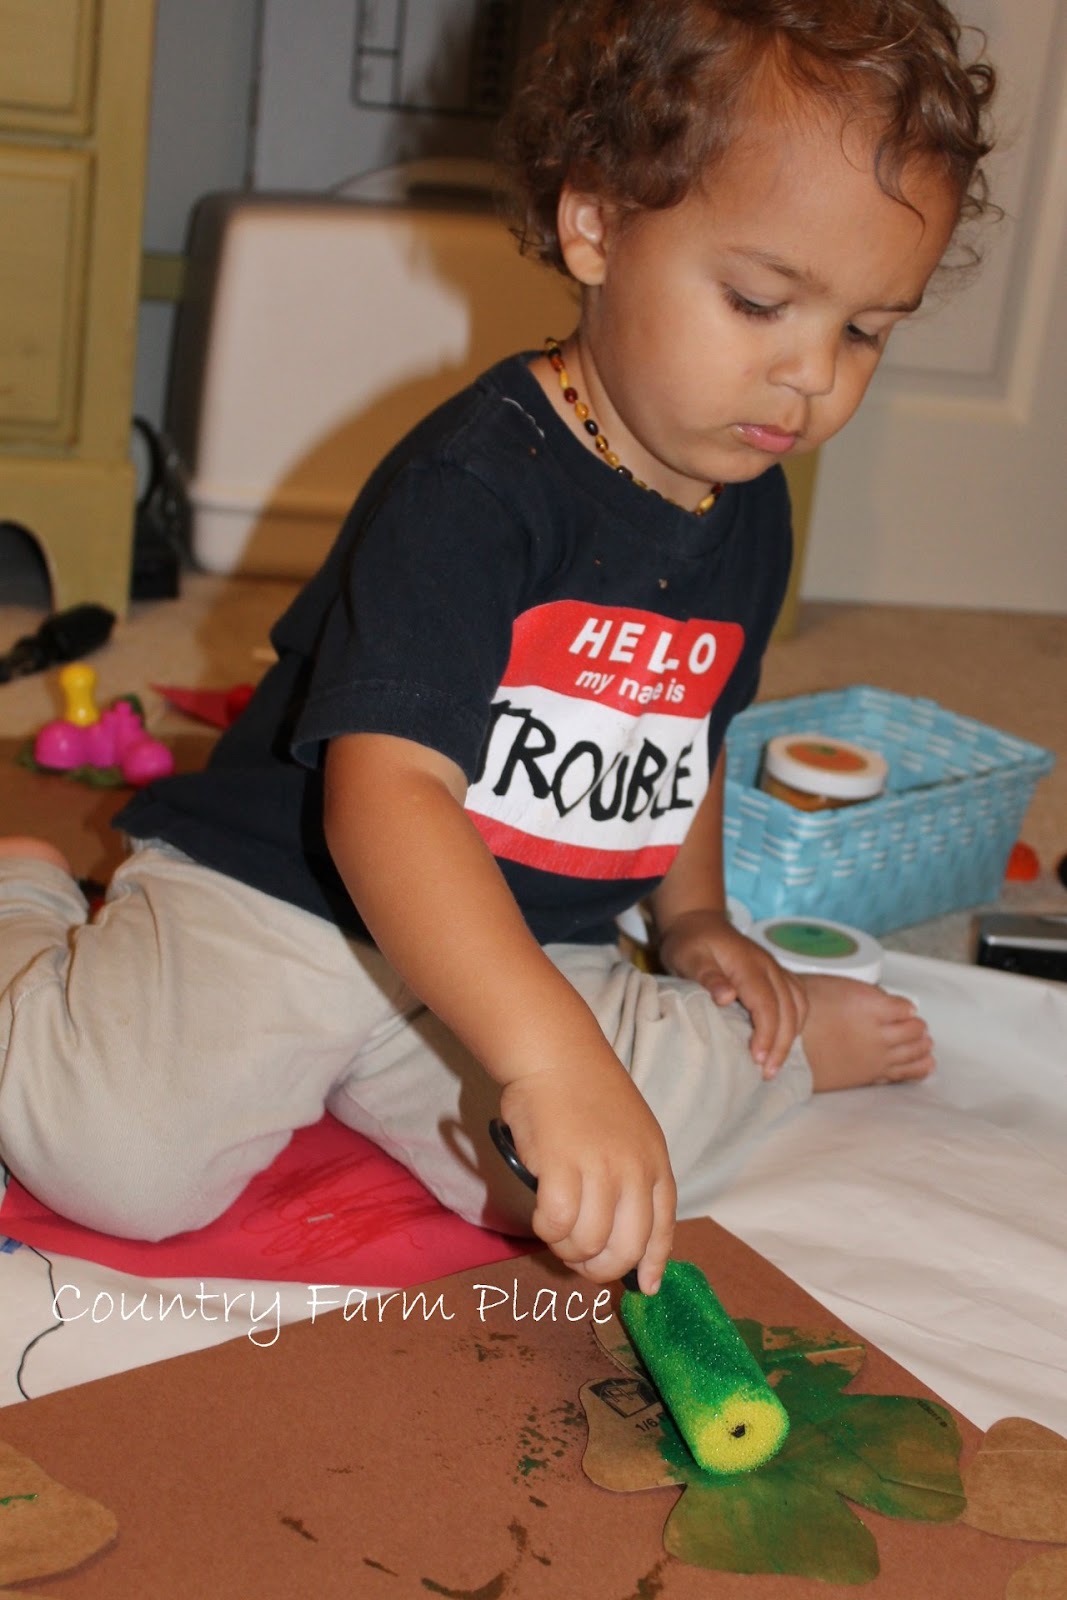
 Bubba help paint the 4-leaf clovers sparkly green.

I painted on the word "LUCKY." {after the green paint dried}


Then taped the clovers to twine.


 BOOM. Done. 


How easy was that? 

Now, I have something pretty to see whenever I look over at our dead television.
 Sweet.

{Oh and a quick note - after the green paint dries, the paper began to curl at the edges. Too keep them flat, I placed them under heavy books}

Monday, March 5, 2012

Step by Step {day by day}

 As soon as I wrote the title, the theme song from the show Step by Step popped into my head, so naturally I had to add the {day by day} part in there. Did you watch that show? I loved it. 
-----------------------------------------------------------------------------------------------------------------------------
I've finally made some progress in the Master bedroom. Now, I'm two steps closer to finishing!

Remember those doors I picked up off the side of the road?


With a fresh coat of paint {and a little distressing}, they now reside at the head of our bed.
(Side-note: the turquoise pillows are on their way out, I just haven't gotten to that on my list yet)


I tried to get a close up shot so you could see the distressing, but it just wasn't showing up in the picture the way it looks in person.


So, ummm, ya wanna come over and see it?

I also picked up a new sheet set from Target - grey and white print. The print is a swirly square thing - I like it, Hubs not so much {but he's just being difficult. he likes to disagree for fun}.

My dream is to have bamboo sheets {not these particular ones, but you get the idea}, but they are way more than I am willing to spend right now {not so budget friendly}; and my new sheets were on sale {super budget friendly}.


I'm still kicking myself for not acting faster and buying them on My Habit when I saw them on sale. I'm referring to the bamboo sheets, if I lost you.


I also made another this chalkboard, so Hubs and I can write sweet messages to each other.  He laughed at me. But I know deep down he thinks it's cute. He just has a manly image to uphold.  


It doesn't have a home in the room yet, hence the reason for being photographed on a chair. I have an idea of where it will go, but I need to gather a few more things for the wall before I decide on final placement. 


(If you are ever wondering what to do with an ugly old framed print/photo - now you know.)


My Master Bedroom Makeover list is slowly getting shorter! 


Yay!