Showing posts with label Fun for the little one. Show all posts

Wednesday, August 29, 2012

Marble Coaster

Hubby had Monday off due to the threat of Tropical Storm Isaac (it hadn't yet turned into a hurricane). Luckily, Isaac passed us by; but with on-again-off-again rain showers, we were stuck inside most of the  day.
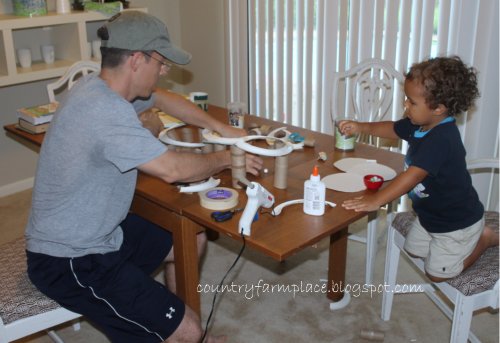

Hubby and Bubba spent the afternoon constructing a marble coaster. 

Really, Hubs did most of the constructing, and Bubba took a lot of breaks to play with his trains. 


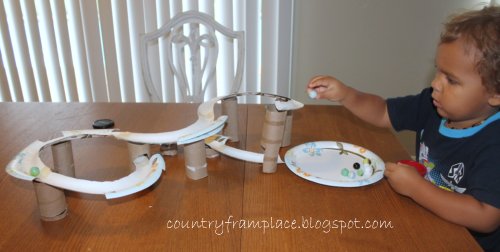
Either way, Bubba LOVED the finished product. Three days later, he is still obsessed with the coaster. 

I found the idea in the September issue of Family Fun magazine. I tried to find a link to it on their website, but haven't had any luck with my searches. 

So, (straight from the magazine) this is what you'll need to make own of your own:

Heavy-duty paper plates
Cardboard tubes
Glue dots or Hot glue

For the track, trim the curved outer edge from several heavy-duty paper plates. Cut sections of various lengths, then overlap and tape the ends together to form one long twisting route. 

For the supports, trim cardboard tubes into graduated lengths, beginning with a half-inch tall and adding a half-inch to each subsequent support. Starting at the low end, secure the track to the supports {we used hot glue; the magazine suggested using glue dots to allow your child to reposition the supports if needed}.

Also, I don't know if it was because of the type of plates we used, but the boys had to add those flaps on the edge to keep the marbles from falling off. 

Enjoy!

Saturday, June 30, 2012

Half Way to Christmas

Last Monday, we had a few friends over for a Half Way to Christmas Party play-date.

What better way to stay cool in the summer, than to celebrate the moderately cool (in Florida) month of December?


We kept cool with this awesome Frozen Hot Chocolate (recipe from Serendipity's).


And kept our tummies full with yummy semi-homemade "pop tarts," cut into fun holiday shapes.

To make your own tarts, you'll need:

store bought pie crust
preserves or other filling
cookie cutters 


Cut the pie crust with the cookie cutters, or use a knife to cut into small squares. Spread the preserves on one side of pie crust. Top with the second piece and crimp edges with a fork. Bake at 400º for 9-12 minutes, or until golden brown. 

Top with your favorite frosting, or make your own...

1 cup powdered sugar
1 Tbs milk 
1/2 tsp vanilla

-Karla

Saturday, June 9, 2012

It's better than a real hammer and nails...


Such an awesome post title, don't ya think?

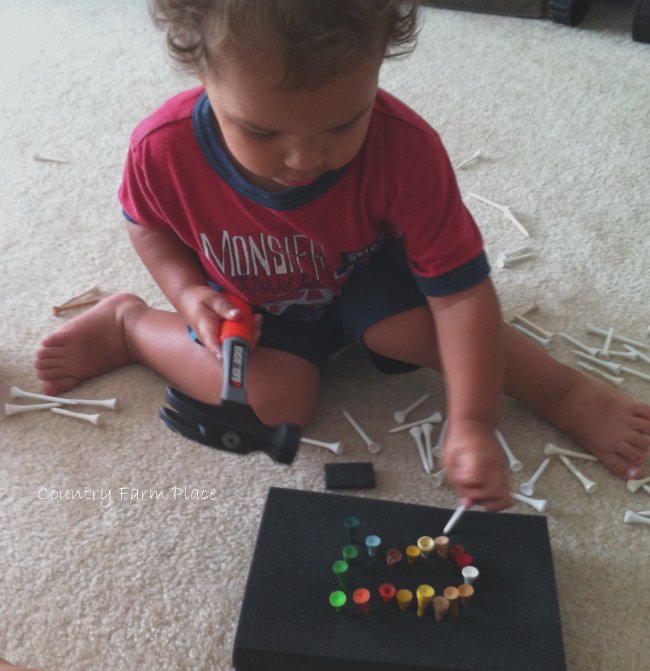
But seriously, golf tees, foam, and a toy hammer are wayyyyy better than a real hammer and nails. At least when it comes to my little guy...and this is coming from the person who lets her child play with just about anything in the house (with supervision of course). 


And it is at the very least 45 minutes of fun, with only 2 simple steps:

(1) Poke the golf tees in the foam
(2) Hammer them in 

Another plus...you don't have to worry about your little one whacking a finger with the hammer because the tee will stand up on it's own thanks to the foam. 


I helped Bubba make this (what is supposed to be a) fish design. We were doing activities related to fish/sea animals that week, so it seemed fitting. 

(Check out Rainbow Fish CD Suncatcher and Ocean in a bag for more fishy fun.) 


Then he just did his own thing, and proceeded to cover the entire piece of foam in golf tees. 

Whatever floats your boat, dude.

-Karla

Friday, June 8, 2012

Fun Friday - Fort Building with my boys


I wouldn't call myself an expert fort builder, but this ain't my first time at the rodeo

I think I can throw a pretty decent fort together with a little rope, a few clothes pins, and a couple sheets....


We hung one piece of rope across the room, from the sliding doors to a closet door. Now I say "we," but let's be honest, I did the majority of the work - even with a capable 8 year old sitting in the room. 

He did help set up the two poles that held the other piece of rope. 

We hung the second sheet from the middle rope to the t.v. - that is conveniently located at fort building level. 


Then Finding Nemo became faaaarrrr more interesting than setting up our most amazing fort. 

{It would have been better to run a 3rd piece of rope over the t.v. though. I think the fort would have held up a bit better. But we'll save that for another rainy day sleepover.}

-Karla 
{certified fort contractor since 1993}

For more fun fort building ideas, head over to All For the Boys and check out all of the Fort Friday posts.

Thursday, May 24, 2012

Thursday Things


(1) Have you ever gotten a toy airplane stuck in your hair? Yea, me neither. 

(2) Making this Skateboard Swing, as soon as I find a skateboard at a yard sale/thrift store. If you see one, puh-lease pick it up for me....


(3) Obsessed with this chocolate right now. So much so, that I may even hide it from Bubba when we get home from the store so that he forgets we bought it, then secretly eat it while he's sleeping. Doesn't everyone do that?

(4) Sponge Water Bombs. Yea. That's happening this summer.


(5) I chuckled when I noticed this billboard today...Note: if you have to make it clear that the girls are not for rent, then "Rent Us!" is probably not the best wording to put on your billboard next to 2 barely dressed girls. Just a thought. P.S. I prefer Rent the Runway

Happy Thursday!

Wednesday, May 16, 2012

Pin-tested, Toddler Approved: Colored Vinegar and Baking Soda


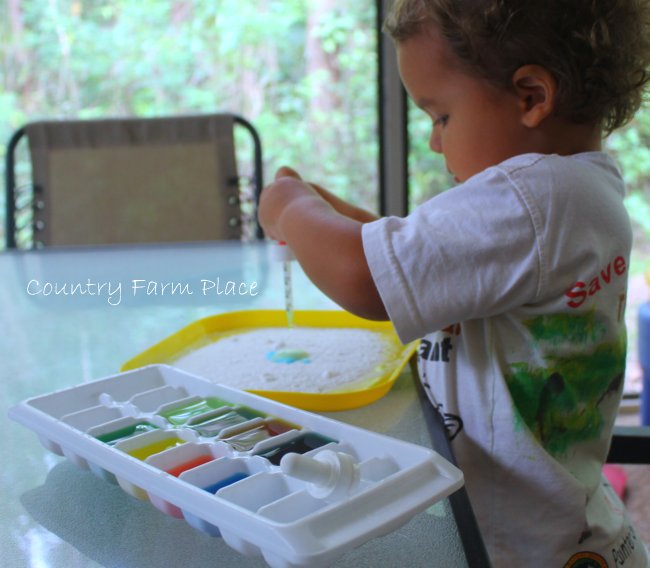
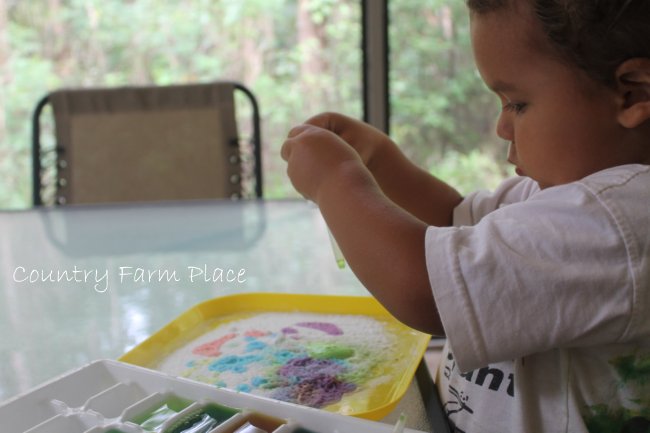
Bubs and I tested out a fun activity for toddlers using colored vinegar and backing soda, that I found on Pinterest. Of course, I can't find the original source, but I googled "colored vinegar and baking soda toddler activity," and found many matches. Here is just 1 of the 219,000 that Google came up with.  


You don't need much for this, and it will keep your little one entertained for at least an hour. At least that's how long it held Bubba's attention. 


All you need is baking soda, vinegar and food coloring, a medicine dropper, and a plate or rimmed baking sheet. The plates we used are from Ikea, and were just perfect. They come in a set of 4. 


He had so much fun watching the baking soda fizz every time he dropped the vinegar on it. I had fun getting some laundry folded while he was busy doing this. 


I think we'll try this baking soda and vinegar activity next. 

Tuesday, March 27, 2012

EyeBombing

Have you heard of EyeBombing? I read about it a few weeks ago over at Make and Takes

I thought it looked like a lot of fun, but knew I would probably never get around to doing it. Let's face it, I would never remember to throw some googly eyes in my bag before I left the house. 

Last night, I went to an awesome local restaurant for a book club meeting {for a book I did not read}. When I went into the ladies room, lo and behold, this was staring back at me in the stall:


I was so excited to see one in person! I had to run back out to the table to grab my phone so I could take a picture.
Okay, I'm sold. I will, from now on, be carrying googly eyes in my bag so Bubba and I can EyeBomb. 

Have you seen these anywhere? Or have you done it?!


Saturday, March 10, 2012

I ♥Felt - Felt Eggs


I've wanted to make felt food to replace Bubba's plastic food in his kitchen/shopping cart for awhile now, but haven't had the time to do so.

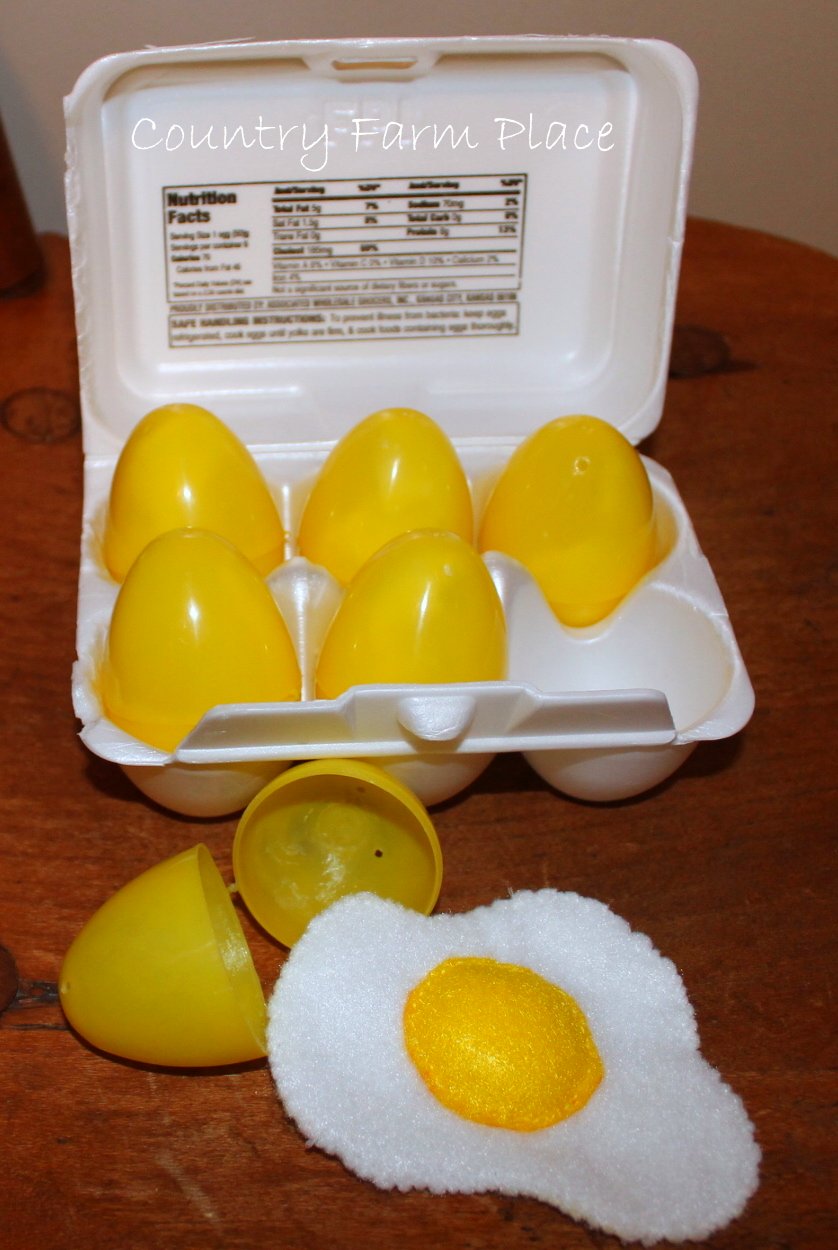
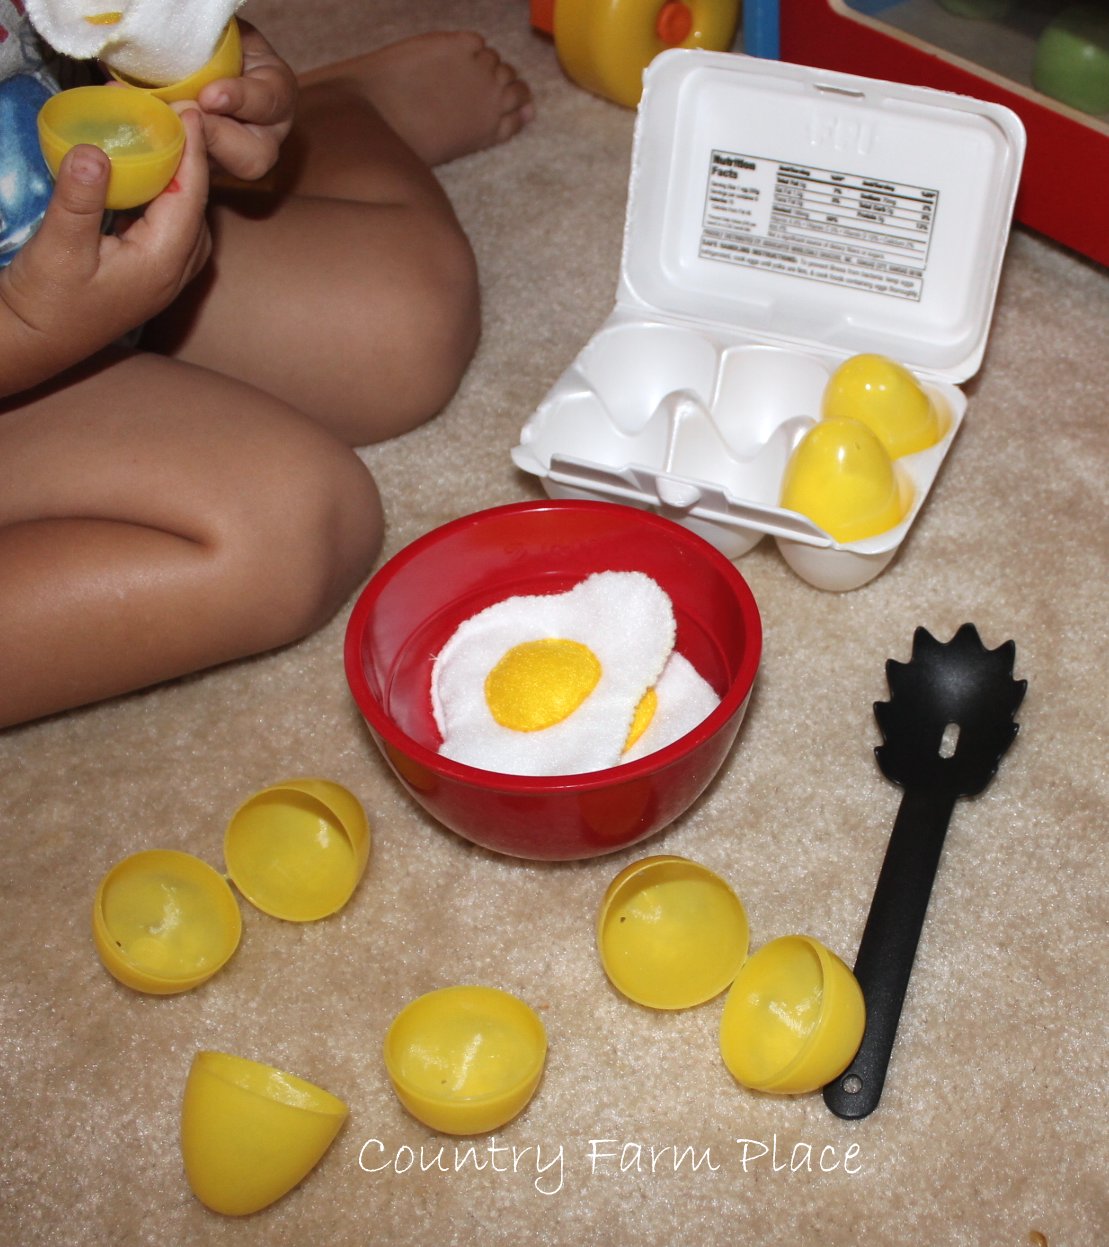
The other day, while thinking of different uses for the box of plastic Easter eggs I bought, I had the brilliant idea to make felt eggs to go inside a few. And, really, eggs seemed like the easiest food to start off making.

I did a little google searching, and found a whole collection of tutorials for felt food on Apartment Therapy. Since I was starting with eggs, I used the tutorial from One Crafty Mumma as my guide.

I used the template provided for the egg yolk, but decided to create my own stencil for the whites.


As you can see, I didn't use a sewing machine like One Crafty Mumma. I'm not so good at sewing anything other than a straight line, so I thought it would be quicker and less frustrating to do it by hand. 


Sew one side of the yolk, stuff, then sew closed. 
Sew 2 egg white pieces together.
I did give this one a try on the machine, but liked the hand sewn look better. 


 Finished product {sorry for the dark picture, it was night time}.


It was so cute how excited he was to pop open the eggs. 

  
Pretending to eat his cooked egg.

vzEW7R on Make A Gif, Animated Gifs
make animated gifs like this at MakeAGif

(I can't figure out how to make this smaller, so if you know how, please fill me in)

Flipping eggs!

 I don't know where he has picked this up from {he's never seen me try to do that}, but I think it's so awesome that he did it...we'll see if he can flip real eggs one day {when he's older, of course}.

I also made the orange slices from One Crafty Mumma. I'll post those soon.

Happy Weekend!

Oh, and Happy Birthday to my amazing brother!!! Love you, Bear!

Wednesday, February 29, 2012

Shaving Cream Fun

We've been experimenting with different uses for shaving cream lately.

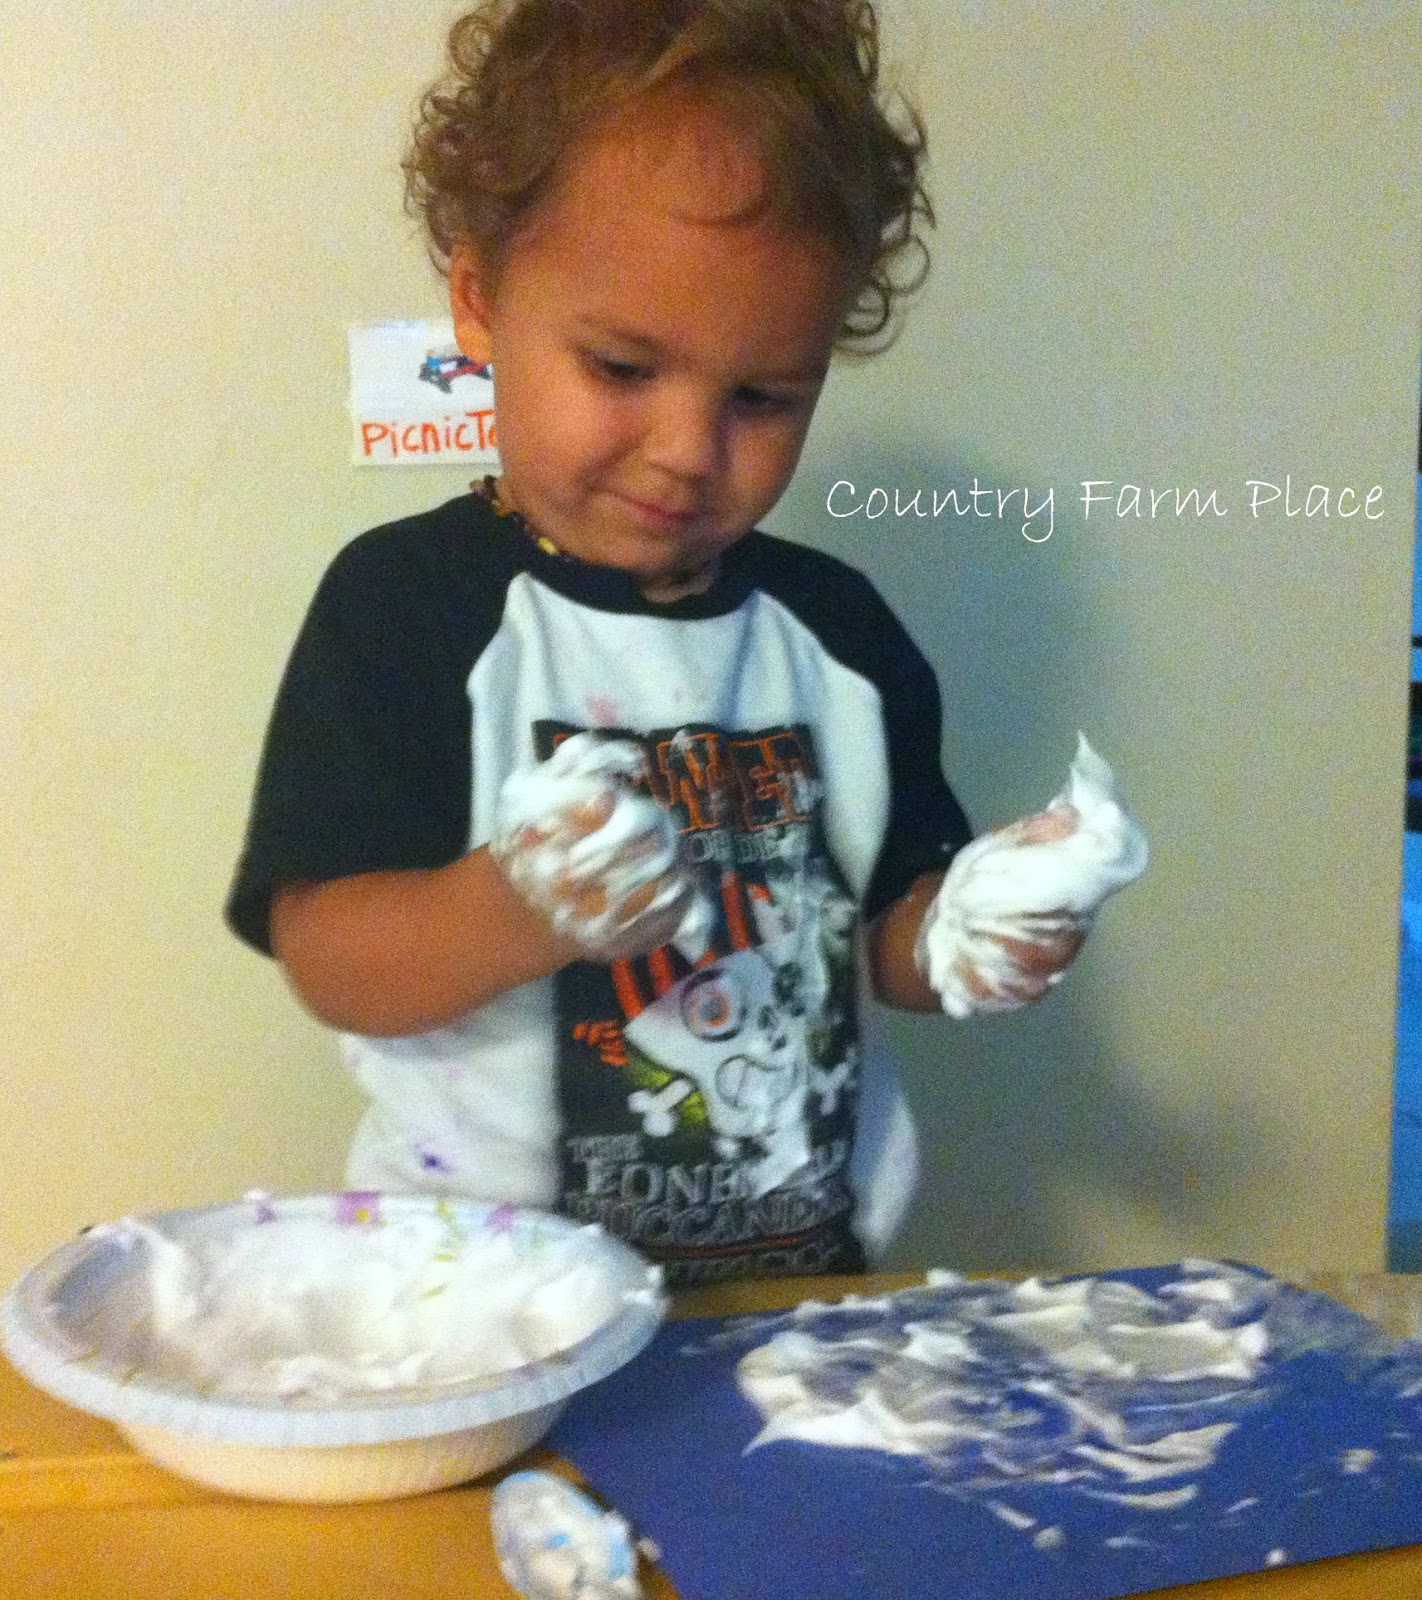
Shaving Cream Snow Art


Mix shaving cream with white glue.


Super fun! 

He started out with a paint brush, and ended up just using his hands and getting it all over the paper and his body.


I love the way it dries! The picture doesn't even do it justice. It dries puffy...Bubba loved touching it after the "snow" dried.

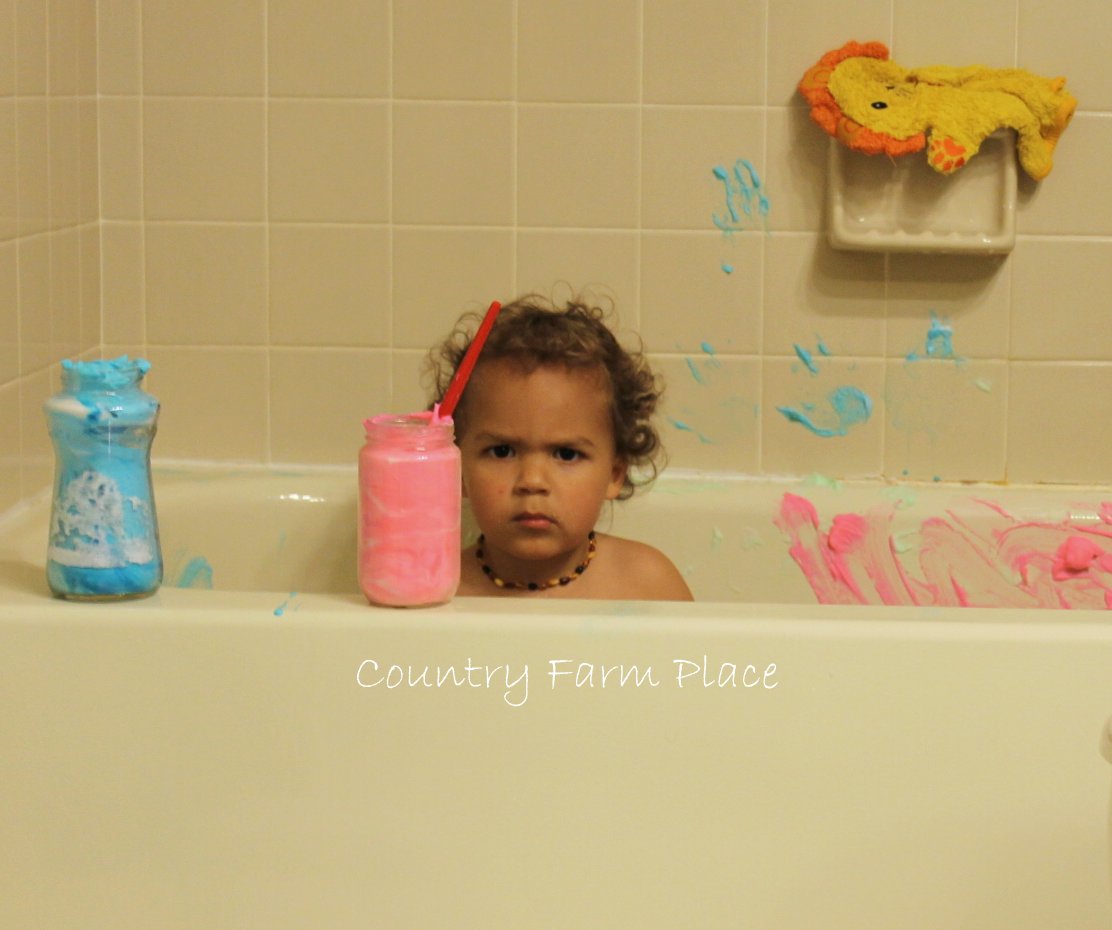
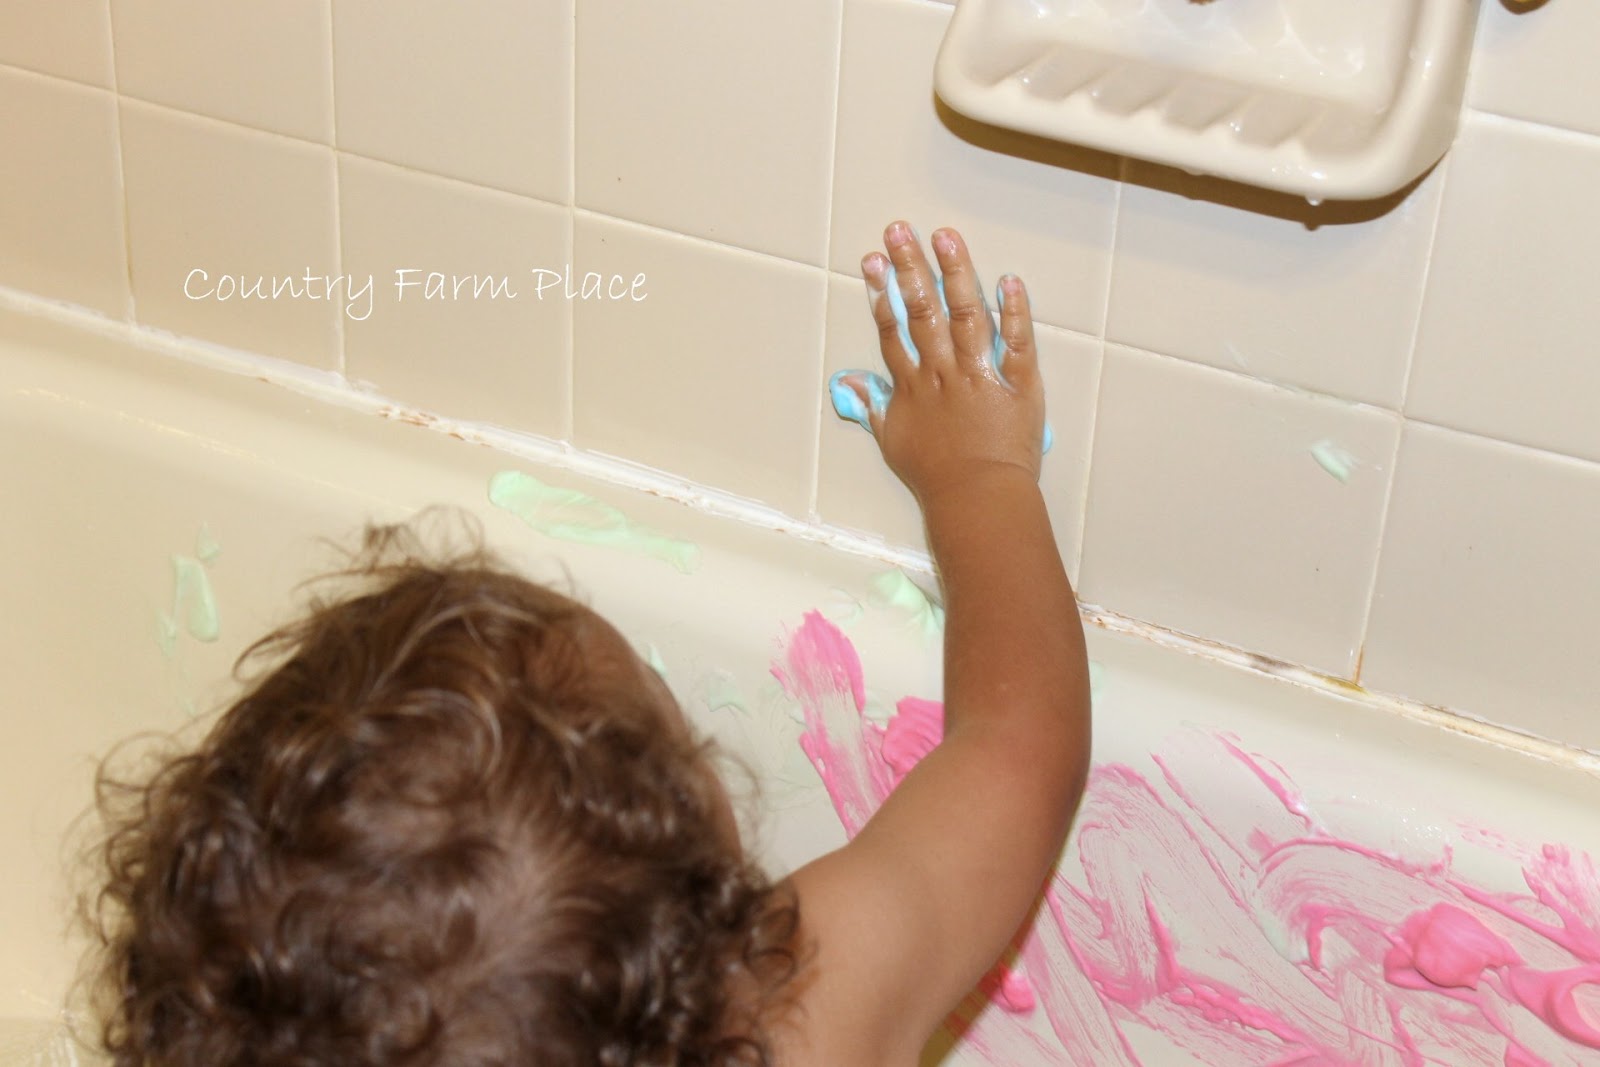
Shaving Cream Paint


Okay, so this seemed like a brilliant idea, until it stained the shower tile grout and caused Bubba to have a reaction {from the food coloring; we follow the Feingold program, and silly me forgot that he can't use products which will be absorbed through the skin that contain artificial coloring}.


But he sure did have a blast painting in the tub, and for the most part is washed away clean. I'm still working on a solution for the dyed grout though - I'm not to fond of red and blue spots in the guest shower.

*Update: While I try not to use a lot of chemicals to clean, I ended up using 409 and a toothbrush to scrub the grout clean, and all of the color came off!

Shaving Cream and {Packing} Peanuts

I saw this idea on Earth's Kids, and thought Bubba would really enjoy it.


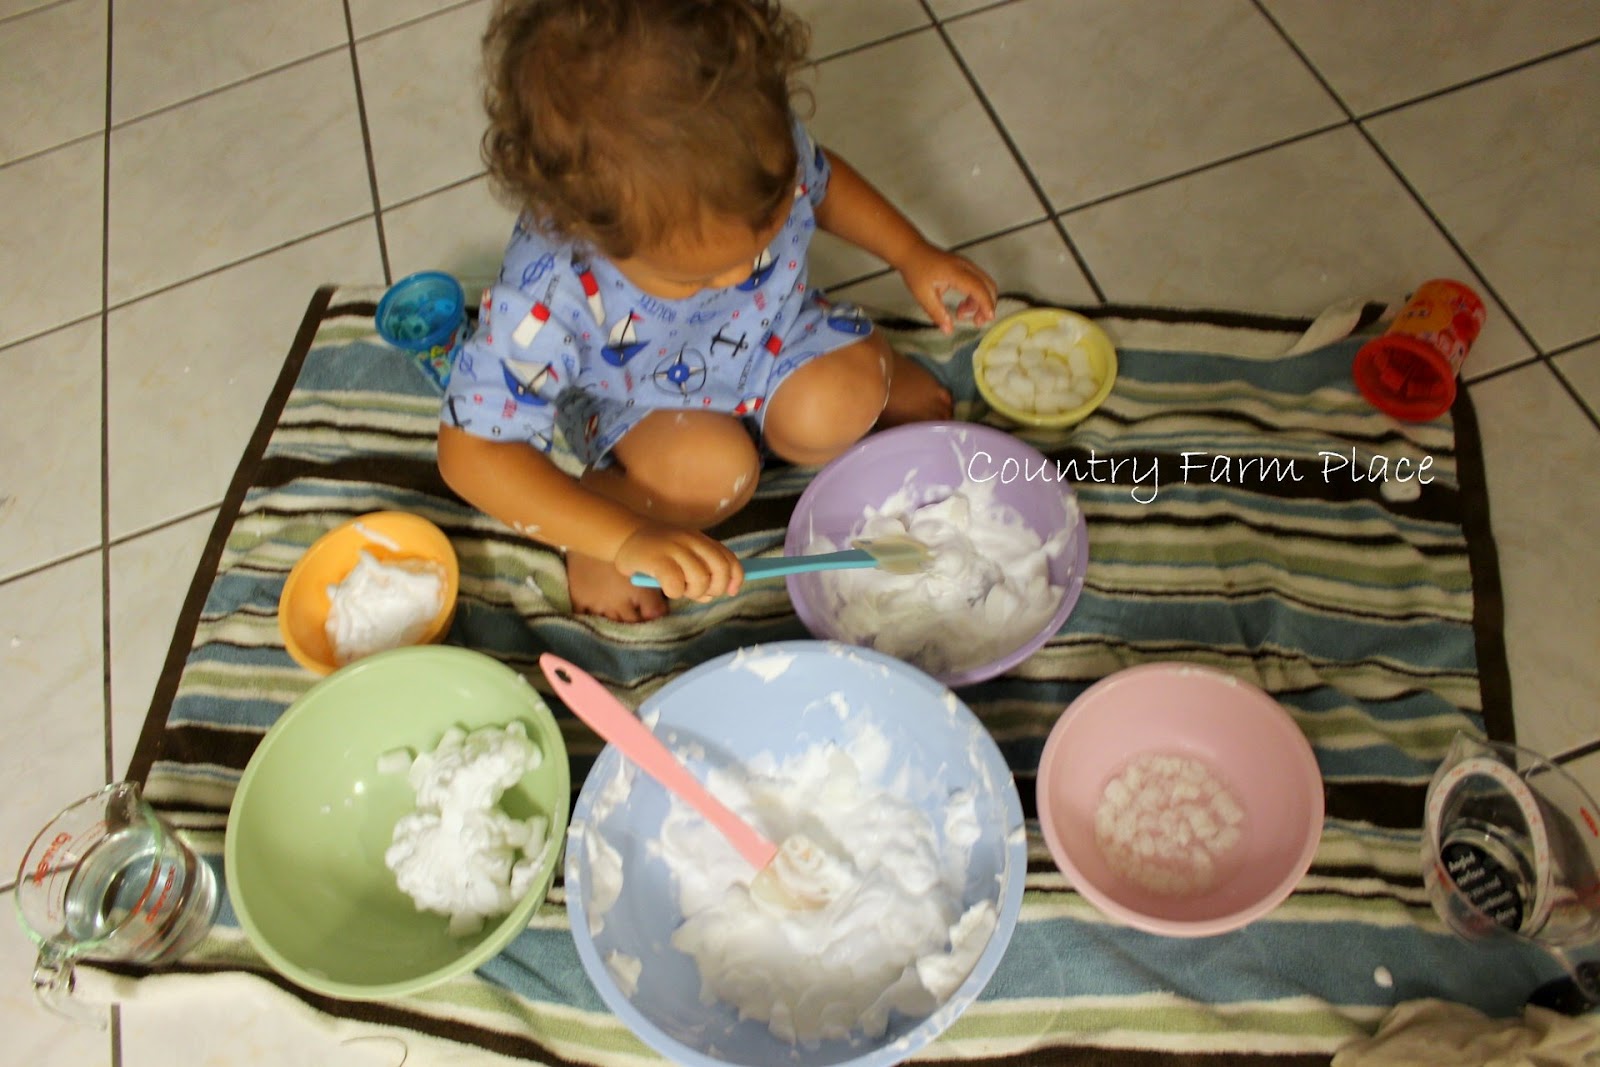
We set up bowls filled with different combinations of materials {like the directions suggest}.

- Shaving cream/peanuts/cold water
- Shaving cream/peanuts/warm water
- Shaving cream/peanuts
- Shaving cream/water
- Peanuts/water


By that face, you would think that he loved this activity.


Alas, the enthusiasm was short lived. 

For a kid who normally doesn't mind getting his hands dirty, he sure did not like the way the shaving cream, peanuts, and water mixed together felt on his hands. 

You can find more shaving cream fun activities at ABC Home Preschool.

Thursday, February 23, 2012

Thursday Things

{March issue of Real Simple}

"Beauty is in the eye of the beholder, and it may be necessary from time to time to give a stupid or misinformed beholder a black eye."

(1) Oh Miss. Piggy, you are so wise.


(2) Super excited that we got a fun new camera!

Would someone please come show me how to use it?

Seriously. It really confuses me, beyond the basic settings. 


(3) I'm considering making homemade cloth pull ups. 

Who thinks I'm crazy? 

{I do}

But I am refusing to pay $24 per pull up.

Insanity! I'm not made of money people!


(5) BBQ Salmon Burgers - Ummmmm, yes please. 

(6) I think my heart pumps barbecue sauce instead of blood. Forealio. 

(7) And for dessert, the Best Cranberry Cake Ever.

(8) I'd like to thank Publix for their weekly BOGOs. Without them, I wouldn't have a bag of cranberries sitting in my freezer since December waiting for me to discover this recipe.

(9) Blueberry season is almost here - I will be making these Vanilla Almond Blueberry Crumb Bars.

(10) I see the fat kid in me coming out .... 3 recipes in a row - I definitely have food on the brain. 

(11) Thinking of making this Paper Tree for Bubba ... it might be a lot of work though, and I don't know how I feel about that.

Happy Thursday! 

Wednesday, February 15, 2012

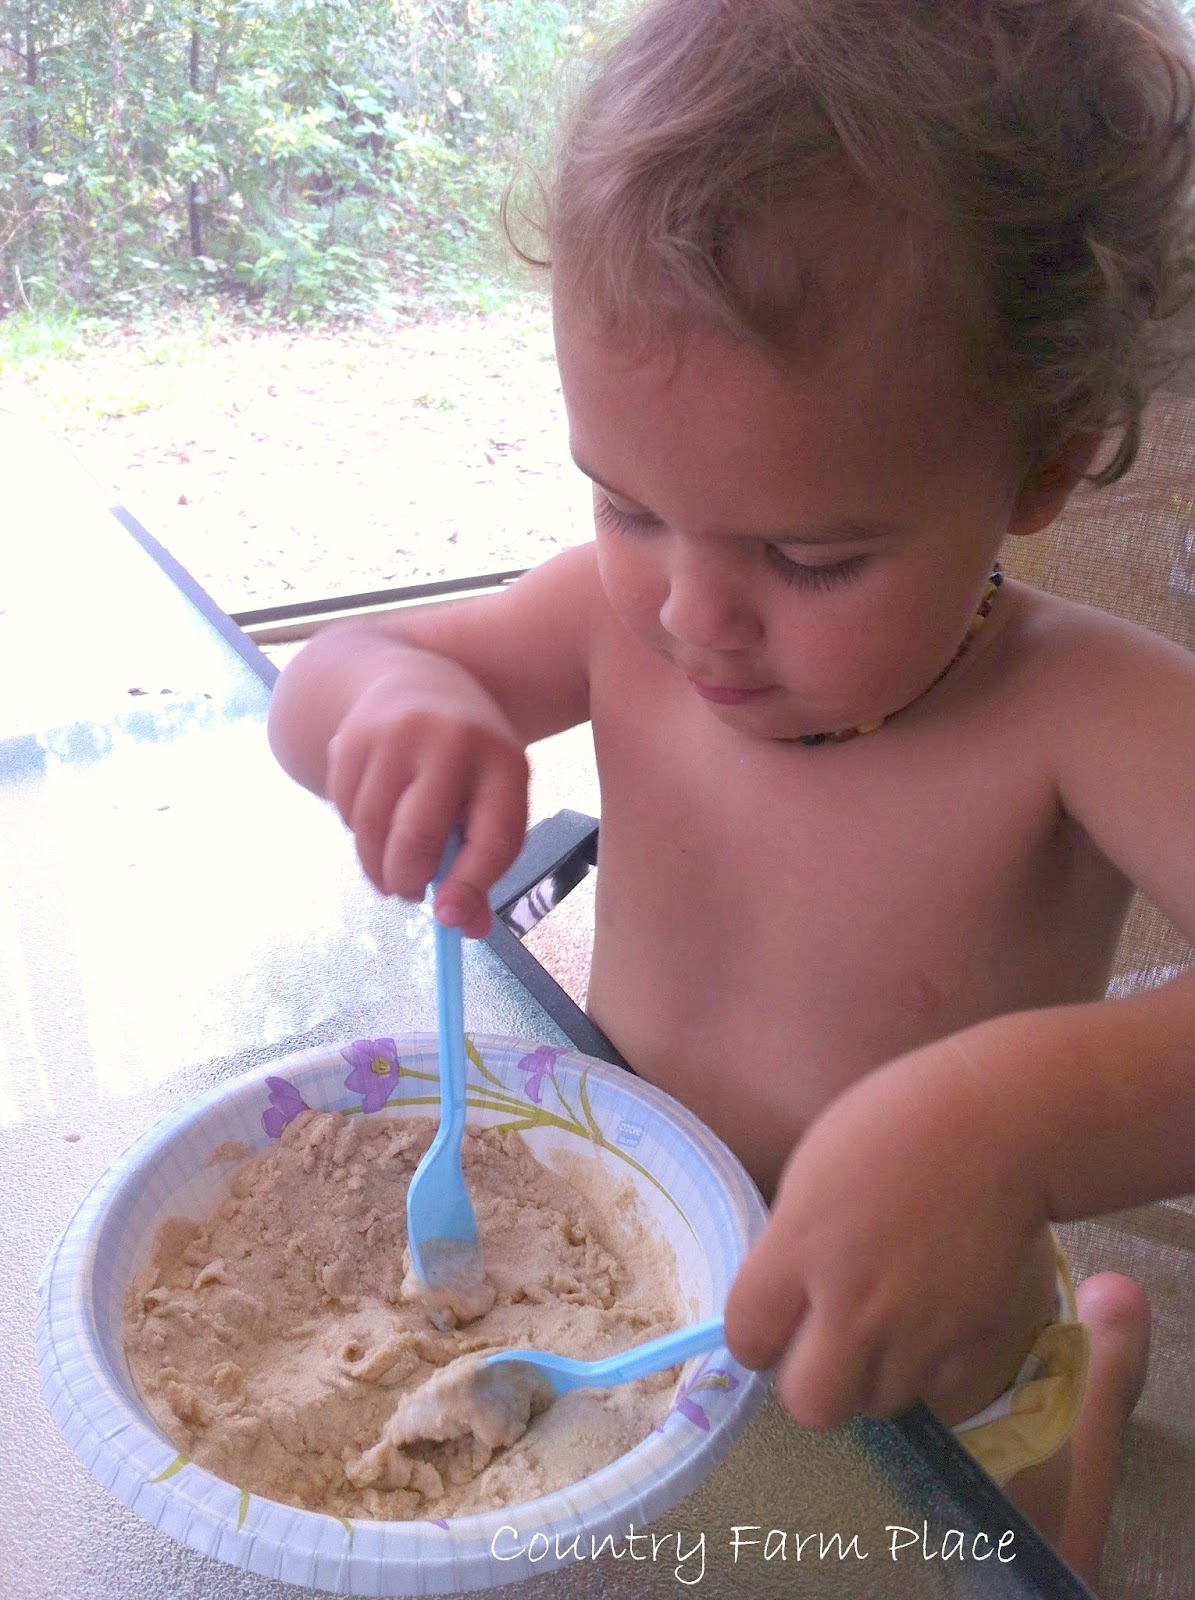
Sand Beads


This has got to be one of the easiest crafts I have ever done with Bubba. Although, I still did most of the work, he really enjoyed trying to help. {but really, who doesn't enjoy crafting when they aren't the one doing it. It's so much easier to enjoy the end result.} 

This, easy-as-pie craft, only really requires two things:


Glue and Sand. 

You can get fancy, like us, and dye your sand with food coloring. But it really isn't necessary - you'll paint them in the end anyway. 

You may be thinking, "It's winter here! Where the heck am I going to get sand?" Well, my friend, I know I live in a tropical paradise not really though, and it is very true that I have year round beach access, but! I did not get this batch of sand off the shores of my local beach. We have a very large bag of sand sitting in our garage that was left over from a project Hubby completed months ago; this is my attempt at getting rid of some of it - one cup at a time. My point is, you don't have to be at the beach to get sand. If your kid has an untouched sandbox (or table), then you most likely have some sand sitting around, and I'm sure the kids will spare you a cup or two for a fun little craft for them.

Or you can just Pin this project, and wait until after your next family trip to the beach over Spring Break or Summer Vacay to make these little gems. 


I didn't really measure, but I'm going to say we used about 1 1/2 cups of sand and 3/4 cup of glue...give or take. 


You just want to be sure you have used enough glue to form a stiff dough. 


Shape the beads, and poke a hole through the center. We used an unsharpened pencil, but you could also use a straw, toothpick, or anything else you may have on hand. 

{Side-note: for some weird reason, we have a million unsharpened pencils floating around my house, yet we have no pencil sharpener. I'm not really sure how that is supposed to work out.}


Let dry for 24 hours. 


We let ours dry overnight, but in the morning I was dealing with a very impatient toddler who would not stop saying, "I paint. I paint in morning. Mommmmmmyyyyyy, paint!," in a very whiny voice. So, I popped them in a 200º oven for about 8 minutes {and we played Hungry Hungry Hippos while we waited}. 


Once they were cool, he finally got to paint {thank goodness}.

Make a necklace. Make a bracelet. Use for other projects. Just have fun with them.

We haven't had a chance to make anything with ours yet. We got side-tracked with a million other activities while waiting for the paint to dry, and just haven't had a minute to come back to them. 

Happy Crafting!