Showing posts with label Cooking. Show all posts

Thursday, March 15, 2012

Thursday Things

(1) I made {turkey} Cheeseburger Soup for dinner the other night. While, the weather here is kind of warm for soup, it still hit the spot. 

(2) I also made these delicious, garlicky croutons; I left out the rosemary - I didn't have any, and I'm not a huge rosemary fan anyway. Also, I used the crust from a whole loaf of bread {I would just save it in a bag in the fridge every time I made Bubba a sandwich, until the whole loaf was gone}.

(3) I've had to stop myself multiple times from consuming the whole bag of croutons at once. They are that yummy, and I am that in love with croutons. 

(4) These Cold Peanut Noodles are next on my list of things to make. {This gal has some seriously good recipes...I have not yet been disappointed}.

coahbutton

(5) I think I'm going to make a Child Training Bible


(6) I cracked the screen on my phone....what a bummer. 


(7) Luckily, it was up in the corner, so I can still use it with no problem; and I'm due for an upgrade in July...fingers crossed a new iPhone is released by then (or relatively soon after).


(8) Just add it to the list of all the things breaking around here. You can also add our pool filter to that list. I think we're up to 5 new expenses. Awesome. I love being a homeowner. 



(9) Future love birds.

Happy Thursday!

Tuesday, March 13, 2012

Strawberry Delight

I promise the strawberry posts are coming to an end. 

Yesterday, we had our strawberry themed play-date with our play group. I co-hosted with my friend J. I swear, a lot of the time, we share the same mind....we both attempted to make Strawberry Shortcake Cookies.


I'm just gonna through it out there - Martha Stewart, sometimes your recipes just don't work. J said hers turned out a gooey hot mess. While mine, although edible, just don't taste like strawberry shortcake. 

Bubba even spit his cookie out. So, that tells ya right there, not a winner. 

My Strawberry Bread, however, was divine. 


Martha Stewart, can you say winner, winner, chicken dinner? 

Yea. It is. 

So make it. And definitely make it into muffins like I did, because I think it makes it better. {I made 2 dozen regular size muffins and 1 dozen mini muffins}

I also made a very easy Strawberry Lemonade - that I don't have a photo of; but the recipe is simple. 

4 cups water
3/4 cup sugar
1 cup lemon juice
1+ pint(s) strawberries

Puree strawberries in a blender; set aside. 
Heat water until just before boiling. 
Remove from stove and add sugar. lemon juice, and strawberry puree. 
Stir until combined. 
Refrigerate.

*I'm not exactly sure how much strawberry I used; but I think it was just over a pint. 

This sweet boy, is J's oldest son. Showing off his crafting skills, making a Scented Strawberry.


Such a super simple craft for kids. I used this berry template {I printed out two - cut the leaf off one, and used one for the berry}. Cut out the berry on construction paper or thick card stock. Paint it red, and add black dots for the seeds. 


Place the leaf on top while the paint is still wet. Sprinkle with strawberry scented Kool-aid or Jello. 


I can't believe I got these treat boxes made. I was literally sitting in my car at the park, weaving twine through the last few boxes to finish. But they are so cute! So I'm glad someone finished them. 


Of course, this is not an original idea {how I wish I could take credit for this}. 

I'm not exactly sure where this pattern originated, but I have seen it on a few blogs with a basic tutorial.

So here is what I did:


Cut out pattern on {your choice of} heavy card stock, and fold where the dotted lines indicate. I also folded straight along the top to create flaps where the string will be woven through to close off the top of the berry - and, ya know, give it the berry shape. 

Sorry I didn't make lines to show you this part, but you can see what I'm talking about in the pictures below. 

Glue tab to inside of box
Weave twine, ribbon, string through holes of berry.
Don't forget to fill your boxes with treats before tying it shut.

I used chocolate for Bubba, and jelly beans for all of our friends {I didn't want to bring chocolate to the park in the Florida heat - yuck; however, it did end up being a pleasantly cool morning, so that was nice}.


Tie on leaf top.
Sweet strawberry treat boxes. 
I hope you have a "berry" good time making everything! 

Monday, March 12, 2012

In the Kitchen - {Frozen} Yogurt Dipped Strawberries

I froze and entire flat of strawberries - 163 to be exact; so now it's time for me to start making some yummy goodness from the remaining flat. 

I started with something simple, that I had the ingredients for on hand.


Yogurt and strawberries.

That's all you need for this. Doesn't get any more simple than that.


Dip.


Place on tray and freeze.


I had high hopes for the finished product. I mean, eating the fresh strawberries dipped in the yogurt was so yummy, they had to taste just as good frozen right?

Well, they do, sort of. They were rock hard when I took them out of the freezer, so I let them sit out for a few minutes before Bubba and I ate them. He actually ended up just licking the yogurt off, and leaving the strawberry. 

I think we'll just stick to eating the berries fresh with the yogurt - but it was a fun experiment. 

I'm not gonna lie though, it kind of bothers me when recipes don't turn out the way you expect them too. 

Image via Glamour

Like, really? Why couldn't mine turn out like that? What the heck, man.

Let me know if you have better success with this one!

Friday, March 2, 2012

In the Kitchen - Dried Fruit

Bubba goes through A LOT of dried fruit daily. He is a huge fan of Funky Monkey Pink Pineapple, and can eat 2 or 3 packages a day. But at $2.50 per 1 oz package, it's not the cheapest snack around.

So I began experimenting with making my own dried fruit. I make my own fruit leather - how hard can drying fruit be? It's kinda the same, right?

Turns out, it was a little more difficult than I thought. I started out with pineapple {since it's his favorite; except, he won't eat it fresh - weirdo}. I didn't bother taking a picture of the pile of yuck that came out of my oven. After 4 hours, it never really dried, it just turned into dark brown blobs.

After wasting a whole bag of frozen pineapple, I decided to take a different approach.


I picked 4 fruits I had on hand - blackberries, blueberries, raspberries, and strawberries - and I just used a little of each. After all, I really didn't want to waste too much more, fruit isn't cheap, ya know? All but the blueberries were frozen.

I read here to set the oven to 210º, but I did the pineapple at 200º and failed, so I set the oven to 170º and left them in for 4 hours. 

The Results


The blackberries and blueberries were the clear winners. Fresh or frozen - they did well.

The raspberries would have been a success also, had I baked them alone. They dried faster than the others {since they are smaller}, so I should have taken them out sooner.

And my poor strawberries were a disaster. I should have cut them smaller. They were just too thick and never seemed to dry out.

I'm determined to get the pineapple to work, so I will be trying that again - once I get to the store, it's only been oooooohhhh 2 weeks. {don't worry, I'm not starving my kid}

Happy Cooking!

Saturday, December 31, 2011

In The Kitchen - French Buttercream

A few years ago (in 2008 to be exact) I found a recipe for French Buttercream icing. But until Christmas this year, I never had a reason to make it. Little man is on a "special diet," which we all try to follow; so I couldn't use just any old can of frosting for Jesus' Birthday Cake. So, out comes my recipe...

Hang on a second... 

Let me dust it off...

Awwww, here we go....

Ingredients:


10 egg whites
15 ounces sugar


2 1/2 lbs unsalted butter, at room temperature.


Whip egg whites slowly in mixer until foamy. Increase the mixer speed, and slowly begin adding the sugar, until it is completely incorporated. Increase the mixer speed even more, and whip until the mixture is shiny and stiff. 

Doesn't that look appetizing. 

Turn the mixer on medium, and begin adding the butter a little at a time. Once all the butter is in, turn the mixer on high and let it go. 

Almost done!

The buttercream will take about 10-15 minutes to form. You'll know it's done when you hear the motor of the mixer start to slow. 

Also, it will be smooth and consistent...not a lumpy mess like the above to pictures.

All done!

I know you are just dying to stick your finger in the bowl to taste it. 

It's yummy, but don't eat to much by itself; I definitely felt a little sick after licking the whip and spatula.

Let me warn you now....you will have A LOT of icing. I probably could have just halved the recipe, because I really didn't need that much; but you can store it in an air tight container for 1 to 2 weeks. 

Now, on to coloring. 

Place some of the icing in a separate bowl. I only used it for writing on the cake, so I didn't use that much. 


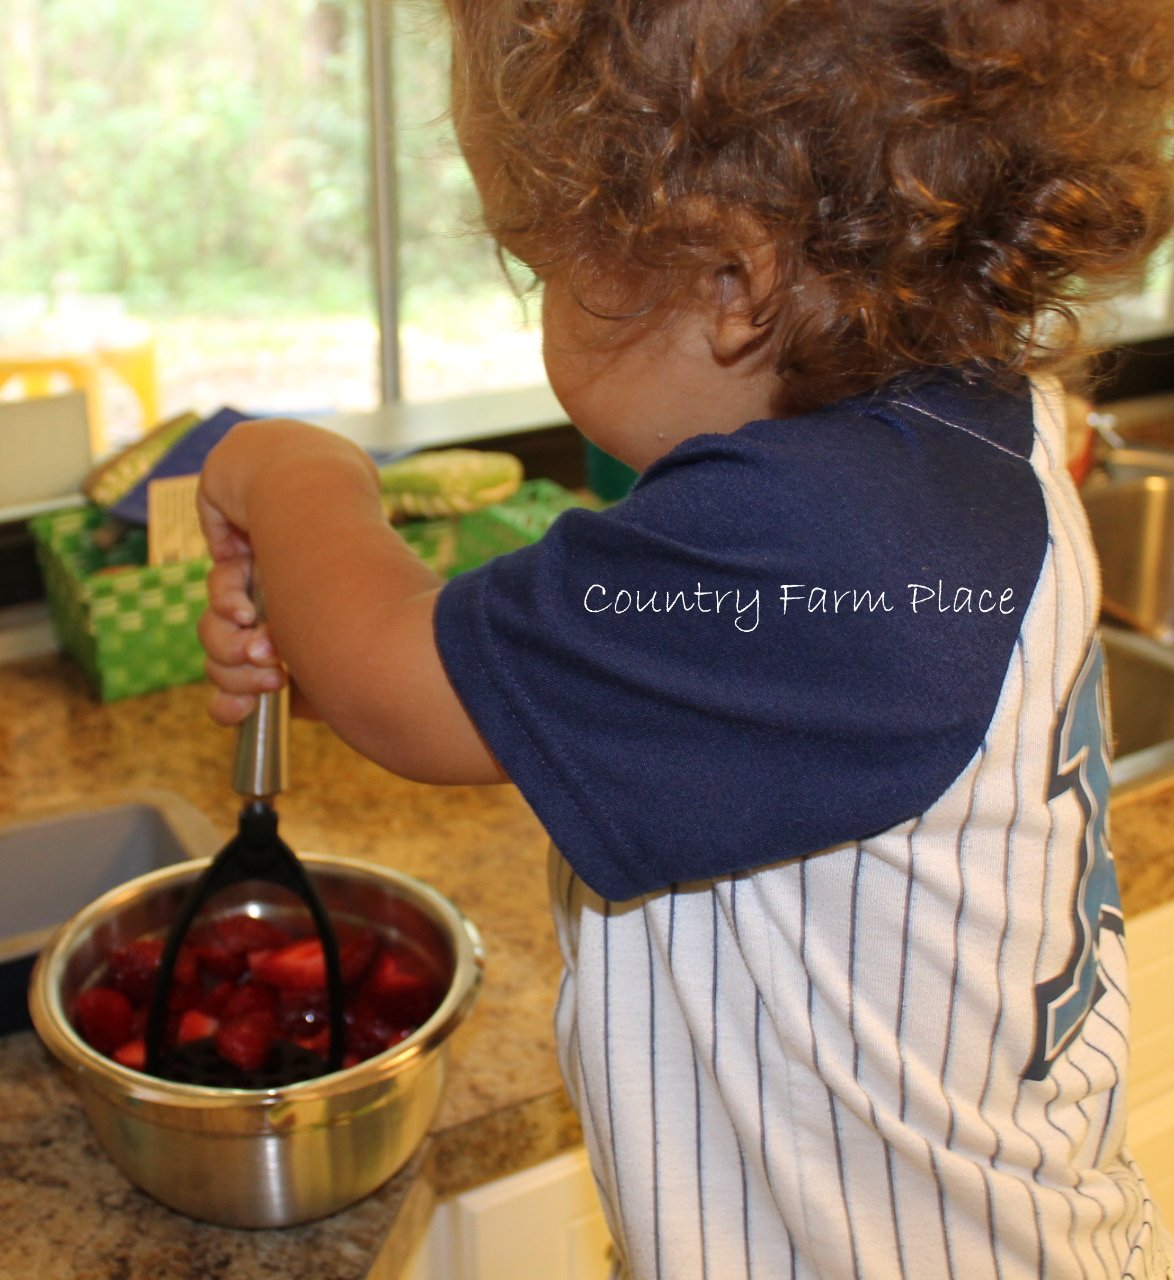
We don't use store food coloring here at Country Farm Place because Little Man is very sensitive to artificial coloring. So, I thawed 14 frozen organic raspberries in a small bowl, and used the juice to dye the icing. 


I was going for red, but it came out as a rosy pink, which is fine too. 

I stored the colored icing in a plastic bag so I could pipe it on the cake. I'm not all fancy over here with piping bags and what not. 

The bag in the back is colored with blueberries and blackberries. You can't really tell by the picture, but it is a light purple color. 

By the way, that container is all the icing I had left, after I frosted my cake; and it is still sitting in my refrigerator. I guess I'll be make a few more cakes in the next week...


Thought I'd throw in the cake all done.

Not all that amazing looking, it's not like I'm vying for a chance to be the next Top Chef. But it tasted good, and to me, that is all that matters. 


If you wanted to know, I cheated, and used a Cherrybrook Kitchen yellow cake mix. It as an all natural baking mix; and peanut, egg, dairy, and nut free. Great for people with allergies! 


Let me know if you make it and how it turns out. 

Happy Baking!

Thursday, October 27, 2011

In the Kitchen - Caramel Apple Bites

Today, is my SAHM Group Halloween Hot Dog Roast. We all usually bring something to share, and of course I waited until the last minute to figure out what I was going to bring. Then, I remembered these caramel and candy apples bites that I saw on Pinterest, and thought I would give them a try. 


Luckily, I bought these caramels a couple of weeks ago when they were BOGO at Publix. I followed the instructions on the back of the package for the caramel apples. The only exception is that I didn't use a whole bag. Mainly because I had already eaten a lot of the caramels; but also because I was making bite size pieces, so I didn't need that much anyway.

All you need is 2 Tbs of water, and the caramel pieces. Melt the caramels over low heat in a medium size pot. 


I cut up 4 small/medium size Granny Smith apples into bit size pieces. And removed the skin from half since there were going to be kids eating these.  Once the caramel was melted, I dipped the pieces in, then set on a lined baking sheet to cool, and placed in the refrigerator for an hour. 


I printed out a few wicked candy apple clip art  from Mrs. Martha Stewart.com as well (like the cool mom who made these the right way from the other blog). They looked and tasted amazing when I first plated them. Then, they sat out for an hour, and the caramel melted and stuck to the plate. So awesome. I didn't even take a picture of that disaster. Check out Try It Mom, to see a better result than mine. 

So, I failed at this one, but you can't win them all. And they tasted pretty amazing either way!


Plus, this little cutie couldn't get enough of 'em.

Wednesday, October 26, 2011

In the Kitchen - Sweetly Salted Pumpkin Seeds

Over the weekend we did some pumpkin carving. It was lots of fun! We carved this cute Mickey design. 

Carving is fun, but my favorite part of carving pumpkins is toasting the seeds! This is one of my favorite recipes for pumpkin seeds. I prefer a bit more sweet than salty, but that's just my sweet tooth coming out.  

Ingredients:
~ 2 cups fresh pumpkin seeds, rinsed and patted dry
2 Tbs unsalted butter, melted
3 Tbs granulated sugar
1/2 tsp kosher salt
1/4 tsp ground cinnamon


> Spread seeds on a rimmed baking sheet. Bake at 300° for 50-60 minutes, until dry throughout. {Or I just left mine out overnight to dry}


> In a bowl, toss the seeds with the melted butter, 2 Tbs sugar, salt, and cinnamon.


> Return the seeds to the rimmed baking sheet, and toast in a preheated 350° oven, for 10-15 minutes, tossing occasionally.


> Remove from oven and let cool. Sprinkle with remaining 1Tbs of sugar (if desired).


> Store in an air tight container; and enjoy!

Hubby doesn't like pumpkin seeds, so he won't eat these. But Little Man loves them!

Do you have a favorite pumpkin seed recipe to share?

Happy Baking!

Friday, October 21, 2011

In The Kitchen - Parmie Pizza Pull Aparts

My family loves pizza; but sometimes, I get a bit tired of it. I found this great recipe on Pinterest yesterday for Pepperoni Pizza Monkey Bread.So I decided to try it out for dinner. 

There was this awesome pizza place that I used to go to growing up, that had these amazing Parmie Puffs. They were basically small rolls smothered in garlic butter and parmesan; served with marinara sauce for dipping. Definitely not healthy, but tasted sooo good. This is where the "Parmie" part of my recipe comes from. 

For the most part, I followed the recipe from the blog, Confections of a Foodie Bride. I just added an extra step/ingredient, and I halved the recipe (only because I didn't thaw out enough dough; but 1 lb of dough is plenty for 2 adults and 1 child).  The extra step makes all the difference though. Just the aroma that filled the house while these were baking brought me back to my childhood.

Note, that I made half with pepperoni and half just cheese. I was thinking of filling some with olives or peppers as well, but Hubby doesn't care for either of those things, and I figured it would be too difficult to tell them apart. Next time, I'm going to try it though. I think I could just put the ones with pepperoni on one side of the pan, and the ones with "my" fillings on the opposite side. The great thing about this recipe, is that you can customize it to your families taste. 

Ingredients
2-3 Cloves Garlic, thinly sliced (depending on size and taste preference) 
5 Tbs Butter
1-2 lbs Pizza Dough (store bought or homemade)
6 oz Mozzarella Cheese, cut into small cubes
Slices of Pepperoni (or other fillers)
Grated Parmesan Cheese (~3 Tbs)  
2 cups Marinara Sauce, warmed, for serving

> Heat garlic and butter in a saucepan, until garlic is just turning brown. Remove from heat. 
> Brush the inside of the bundt pan with the garlic butter.
>Pull off balls of dough, and flatten. Top with a fillers; in this case, a slice of pepperoni, and a cube of cheese. 


> Wrap dough around your filling, and pinch to seal.
> Lightly brush each ball with garlic butter, and place in the pan.
> Repeat until all the dough is used.
> Cover and let sit for 30 minutes, while you pre-heat the oven to 400°.
> You will end up with ~ 2 Tbs of garlic butter. Before placing in oven, drizzle about 1 Tbs over the dough, and sprinkle with the parmesan cheese. (I think I used about 2 Tbs, I probably would have used more if I had enough though).
> Bake for 30-35 minutes, until golden brown.
> Let cool for a few minutes (a step I missed); then invert onto a plate.
> Sprinkle the top with the remaining parmesan. Serve with warm marinara sauce. 
{Side-note: I also served the remaining bit of garlic butter as a dipping sauce. So yummy. Can you tell how much I love garlic and butter?} 


This was so easy to throw together; definitely a good option for what I like to call "lazy cooking days."

 Try it out, and let me know if you changed the recipe at all! I'd love to hear any variations.