Showing posts with label Halloween. Show all posts

Wednesday, November 2, 2011

Treats and Tricks

I hope everyone had a great Halloween. I can't believe it is over and the holidays are quickly approaching!


We went trick-or-treating with Little Man's Big Brother - aka my 7 year old cousin P. After the nightmare with the recycling container costume, C chose the turtle costume out of his dress up bin (minus the head and gloves).


We made it to a couple of houses. Then, he decided to really take on the role of a turtle.


Needless to say, we did not make it home with much candy. Which, I suppose, is a good thing. 

Hope everyone's Halloween was filled with lots of treats!

Saturday, October 29, 2011

Green Halloween

It's finally here! The moment I've been waiting for to show off the costume I worked so hard on has arrived..... Too bad Little Man decided he didn't want to wear the costume, and would scream anytime it came near him. Yep. That's right. I was so excited about it, and he could have cared less. But we still had a good time. 

This afternoon, we went to Whole Foods Market for Green Halloween Tampa (an event that promotes a healthier alternative to halloween). It was a cute event. While they did pass out a few treats around the store, it wasn't all that I had envisioned. There were four stations in the store, each time we stopped our Whole Foods guide would talk to the kids about environmentally friendly topics (recycling, energy saving, etc), and then give them a "treat" (fruit, Horizon Organic Milk boxes, granola bars). I think I was expecting a little more "trick-or-treating," with healthier treats. C wasn't too interested in all the talking, but he did have a great time at the Stretch-N-Grow booth.


The shirt was the only part of the costume I could get him to wear. And believe me, it was a battle just to get that on him.

Hubby finally got C to put the rest of the costume on when we got home. He had to convince him to take a picture with Mickey, and bribe him with candy and games. 


Are there any fun fall/halloween festivals that you and your family are going to this weekend? 


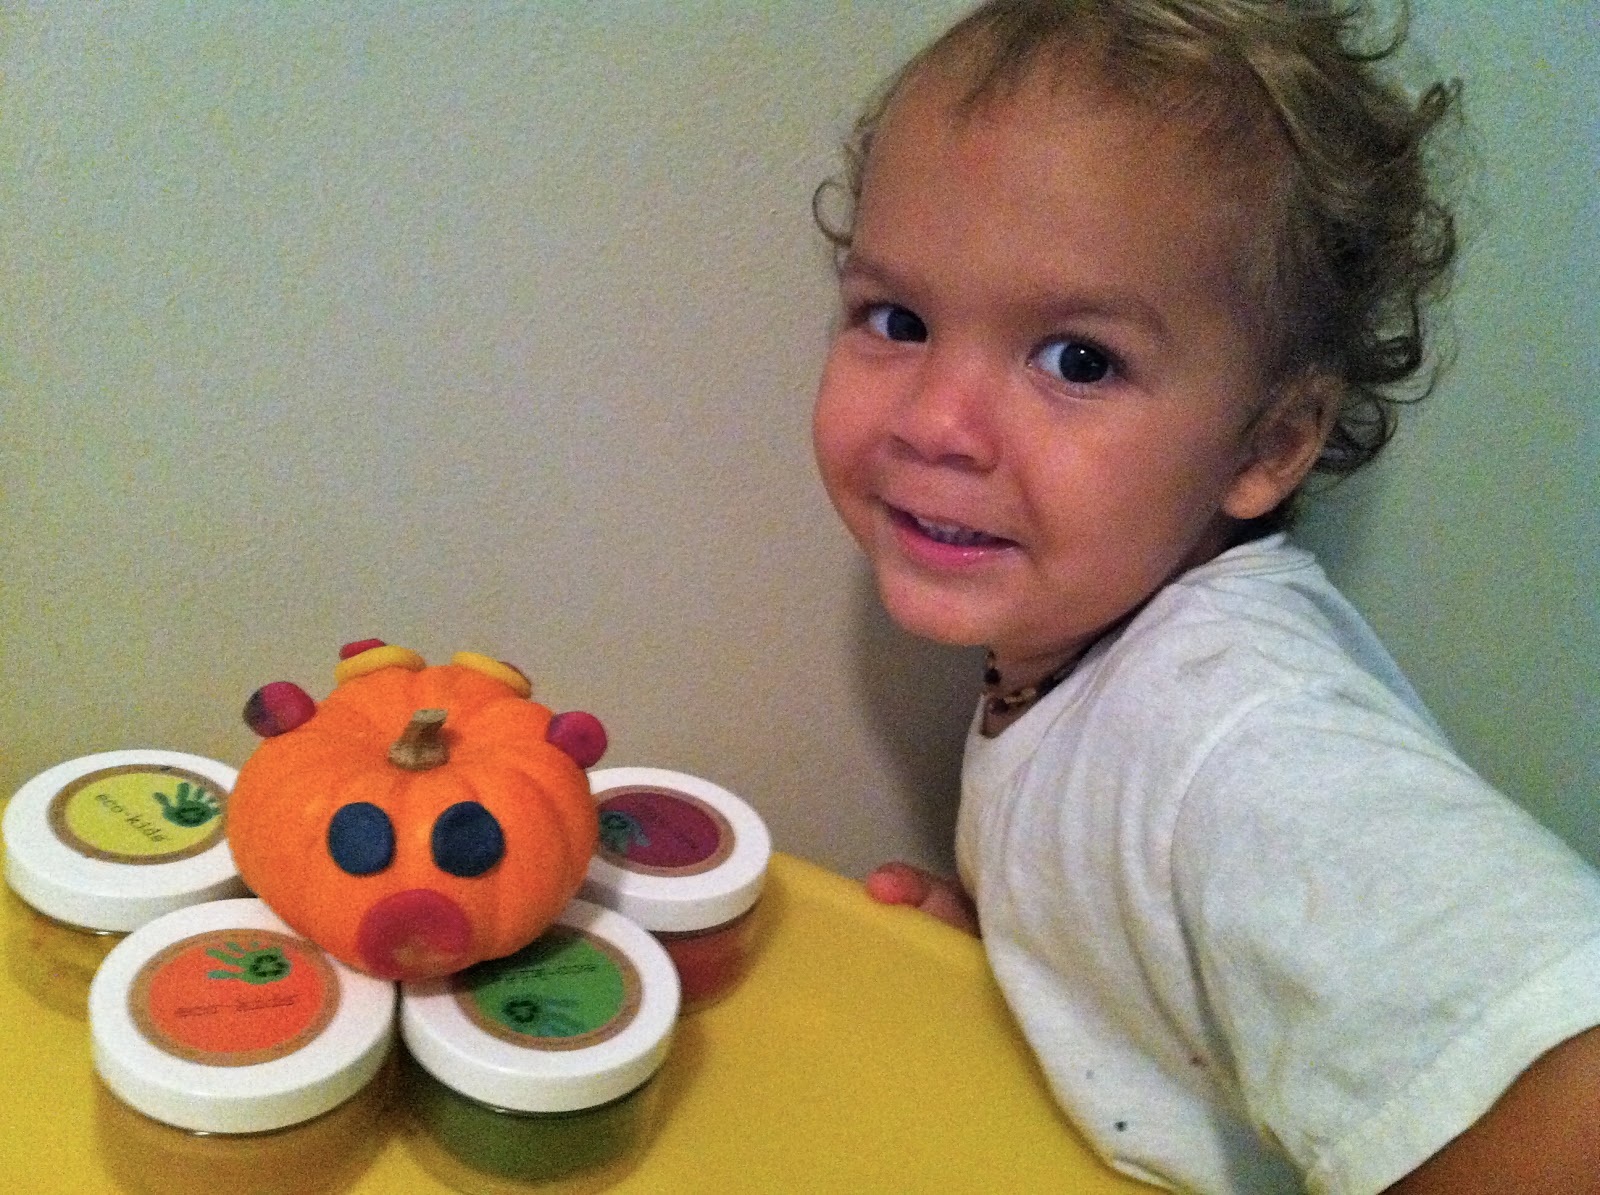
Play-dough Pumpkin

For Little Man's birthday, my amazing brother gave him Eco-dough by Eco-kids. It was probably the best gift he could have ever received! We make our own homemade play-dough, but this stuff takes homemade to the next level. The dough is made from all natural, non-toxic environmentally friendly ingredients; and I really feel good about C playing with it. 

Yesterday was a yucky rainy day; so, of course, it was the perfect day to bust out the eco-dough. We picked up this Little Man size pumpkin earlier this week at a Halloween event we went to. We couldn't carve it, and I really wasn't feeling painting it. So I was trying to think of different things we could use to decorate the pumpkin. 


While playing with the eco-dough, we were inspired to give our pumpkin a face. This was my side. 


And this was C's side. 

What a brilliant idea this was! Not a lot of mess, and lots of fun coming up with different faces. I let it dry over night, and now we have a cute little pumpkin (that will last much longer then our Mickey pumpkin that we carved last weekend)

Have you come up with any "new" pumpkin decorating ideas for little ones?

Also, among the many really cool products Eco-kids makes, we personally love their eco-crayons (another awesome gift from my amazing brother). They are handmade with natural, and organic plant and vegetable extracts. These products can be kind of pricey, but I did found them on Amazon for a bit less. But really, I would spend the money on quality, eco-friendly products, that I feel are safe for my child to play with. 

Disclaimer: Thoughts and opinions expressed about eco-kids products are purely my own. This blog receives no payment or other compensation for reviews of products and services. Unless explicitly stated, I have no affiliation or relationship with the supplier of a product being reviewed. 

Thursday, October 27, 2011

In the Kitchen - Caramel Apple Bites

Today, is my SAHM Group Halloween Hot Dog Roast. We all usually bring something to share, and of course I waited until the last minute to figure out what I was going to bring. Then, I remembered these caramel and candy apples bites that I saw on Pinterest, and thought I would give them a try. 


Luckily, I bought these caramels a couple of weeks ago when they were BOGO at Publix. I followed the instructions on the back of the package for the caramel apples. The only exception is that I didn't use a whole bag. Mainly because I had already eaten a lot of the caramels; but also because I was making bite size pieces, so I didn't need that much anyway.

All you need is 2 Tbs of water, and the caramel pieces. Melt the caramels over low heat in a medium size pot. 


I cut up 4 small/medium size Granny Smith apples into bit size pieces. And removed the skin from half since there were going to be kids eating these.  Once the caramel was melted, I dipped the pieces in, then set on a lined baking sheet to cool, and placed in the refrigerator for an hour. 


I printed out a few wicked candy apple clip art  from Mrs. Martha Stewart.com as well (like the cool mom who made these the right way from the other blog). They looked and tasted amazing when I first plated them. Then, they sat out for an hour, and the caramel melted and stuck to the plate. So awesome. I didn't even take a picture of that disaster. Check out Try It Mom, to see a better result than mine. 

So, I failed at this one, but you can't win them all. And they tasted pretty amazing either way!


Plus, this little cutie couldn't get enough of 'em.

Wednesday, October 26, 2011

In the Kitchen - Sweetly Salted Pumpkin Seeds

Over the weekend we did some pumpkin carving. It was lots of fun! We carved this cute Mickey design. 

Carving is fun, but my favorite part of carving pumpkins is toasting the seeds! This is one of my favorite recipes for pumpkin seeds. I prefer a bit more sweet than salty, but that's just my sweet tooth coming out.  

Ingredients:
~ 2 cups fresh pumpkin seeds, rinsed and patted dry
2 Tbs unsalted butter, melted
3 Tbs granulated sugar
1/2 tsp kosher salt
1/4 tsp ground cinnamon


> Spread seeds on a rimmed baking sheet. Bake at 300° for 50-60 minutes, until dry throughout. {Or I just left mine out overnight to dry}


> In a bowl, toss the seeds with the melted butter, 2 Tbs sugar, salt, and cinnamon.


> Return the seeds to the rimmed baking sheet, and toast in a preheated 350° oven, for 10-15 minutes, tossing occasionally.


> Remove from oven and let cool. Sprinkle with remaining 1Tbs of sugar (if desired).


> Store in an air tight container; and enjoy!

Hubby doesn't like pumpkin seeds, so he won't eat these. But Little Man loves them!

Do you have a favorite pumpkin seed recipe to share?

Happy Baking!

Friday, October 14, 2011

Holiday Crafts - Jar-O-Lanterns

Day                            Night 

Remember those mason jars a bought a couple weeks ago when I went to some yard sales with Hubby? Well, here is the project I've been working on with them.

I was originally planning on turning them into hanging lanterns for our deck. But, while flipping through this month's Southern Living, I found this great idea (click for the tutorial)

They were so easy to make; I even had Little Man, and my 7 year old cousin helping to paint. 

A couple tips:

1) Don't use Tempura Finger Paints. 
This is the only orange paint I had in the house, and I was being too cheap (and kind of lazy) to go out and buy a different kind. It worked well enough, bought I had to do about 3 coats; and it took forever to completely dry between coats. Also, being outside in our humid weather makes them kind of sticky.

2) It might be easier to print out a face template
I tried both black paint and sharpie, and wasn't 100% pleased with how they turned out (up close you would be able to see what I'm talking about). You can find templates here. These come from Ms. Martha Stewart.com. Her version of the Jar-O-Lantern is a bit different (you paint the inside instead of the outside) than Southern Living's, but the templates will work just the same. 

Happy Crafting!