Showing posts with label Martha Stewart. Show all posts

Monday, December 19, 2011

Kids and Crafts

Last week was a whirlwind for us! On top of activities every day, my good friend's daughters stayed with us for three days, while she and her new hubby were on their honeymoon. 

The oldest is a very crafty little girl, so I made sure to scour Pinterest in advance to make sure I had fun things for her to do. 

The last time we had a slumber party, we made these very basic, easy to sew tote bags; and she could not stop talking about the next bag we make. 


Well, you know how much I love to upcycle. So we started out by making these adorable t-shirt tote bags.  


Now we just needed things to go inside. We followed up the bags with our DIY Snowglobes - inspired by Martha Stewart, but of course ours are WAY better. 

They are super easy to make! All you need is a jar, glitter, mini figurines, epoxy (or any waterproof super glue will work, we used Loctite Stik N Seal), and glycerine (optional).


We used mason jars, but you could use any old jar laying around. If you're like me, and hang on to every empty spaghetti sauce jar, then I'm sure you have a few spares lying around. 

Glue the figurines to the inside of the lid, and let it COMPLETELY dry. We let ours dry overnight to be sure the figurines weren't going anywhere. 

Fill the jar almost to the top with water, and if using glycerine, and a few drops at this time. It is supposed to keep the glitter from falling to quickly, however, I didn't notice a difference in the ones we used glycerine in and the ones we didn't. 

Sprinkle in the glitter, and put the lid on. 


Okay, so some things that I discovered in this process: 

1) don't use figurines that have red felt on them - note how the water is a bit discolored in the jar that contains the penguin. 

2) pick figurines that have small bases, or use jars with larger lids - we weren't able to fit more than 2 figurines in a jar because the bases were so big. 

Lastly, since the jar with the moose in it is going to be a gift, I painted the lid with chalkboard paint, and wrote a little message on the bottom. I'd show you, but I don't want to give away who it is going to. Just trust me, it's cute. 

We also made one of my A-bottle-able Snow Men. So Little Girl's bag was nice a full when she went home on Saturday night. 

Check out the links and enjoy the crafts!!!

Wednesday, December 7, 2011

In The Kitchen - Cranberry Tartlets

This recipe actually comes from 2 sources. I first found it in a Thanksgiving issue of Martha Stewart Living, as a "resurrecting Thanksgiving remains" kind of recipe. This is not really what the great people at MSL called it, but you get the idea. But here we are weeks after Thanksgiving, and I had yet to make it.

Then, one day, while I was laying down with Little Man and browsing Stumble Upon,  I found this delicious looking recipe for Puff Pastry Cherry Blossoms from a blog called Get off your butt and...Bake! I just knew it was a sign telling me get off my butt and make these tartlets/cherry blossoms that I have been putting off for so long.

I was in luck too! I had a leftover package of puff pastry sheets sitting in my freezer waiting to be used.
 Except, I didn't have any pie filling, and wasn't about to mess with trekking to the store with Little Man. Thanks to the awesome Thanksgiving sales, I had a bag of cranberries waiting for me in my fridge (yay! for bogos). Sweet! I wiped up a batch of  cranberry sauce, and now had a filler for my delicious treats.

You can check out Get off your butt and...Bake for her step by step instructions; and I definitely recommend using the glaze from her recipe. Or visit MarthaStewart.com for their version. I used a little bit from both, the puff pastry and glaze from the blog, and the cranberry sauce and cooking instructions from Martha. 

I followed the instructions exactly from the blog, and the first batch ended up being a total FAIL.


I put them on the cookie sheet as instructed, and ended up with these blobs. I took these out after the 20 minutes, and had to put them back in the oven. I found my puff pastry dough to still be raw in the middle after that amount of time.

Nevertheless, they still tasted awesome; they just didn't look to appealing - but that didn't stop me from eating pretty much all of them.

So the second batch, I placed the little tartlets in a muffin tin, and put them in the freezer for about 15 minutes before baking - like Martha suggests (she actually says to do it for 30 minutes, but 15 works fine). I upped the temperature to 400ยบ, and let them bake for 30 minutes. 


The plate on the left is the second batch. 


Remember to spray the muffin tin (if using it) with non-stick spray first; the tartlets will be difficult to get out without it. 

Side note: the glaze is sooooo yummy! I highly recommend not skimping on that - as I did (not by choice; I just didn't have enough vanilla to make a whole batch). 

Happy Baking!


Monday, November 28, 2011

In The Kitchen - Zucchini Nut Bread Cookie Sandwiches

That has to be the longest name ever for cookie. But, oh man, are they good!


I found the recipe in an issue of Martha Stewart Living a few months back, and proceeded to add it to my growing pile of "recipes to try" - and when I say pile, I mean a 3 inch three ringer binder (that is full). While looking for a few holiday cookie recipes for a friend, I found this; and decided since I had some leftover zucchini, I should give it a try. 

You have to check this recipe out on MarthaStewart.com. You will love it! 


I pretty much followed the recipe exactly. The only differences in mine is that I used 1/2 cup whole wheat flour and 1/2 cup all-purpose flour (instead of 1 cup all-purpose), and I only used 1/4 cup walnuts (I also forgot to toast them).


Refrigerated for 1 hour.


I think I made mine a bit too big because I only ended up getting 8 sandwiches out of this batch (according to the recipe I should have gotten 14).


MMMMMMMM...So yummy!

I'm not normally a fan of cream cheese frosting; but sandwiched between the zucchini bread cookies it is delicious! If you're not a fan either, no worries, these babies taste just as good without it. I would also like to point out that the consistency of the cookies is more bread like - as the name insinuates. Just thought I would point that out, in case you were wanting a more crunchy cookie.


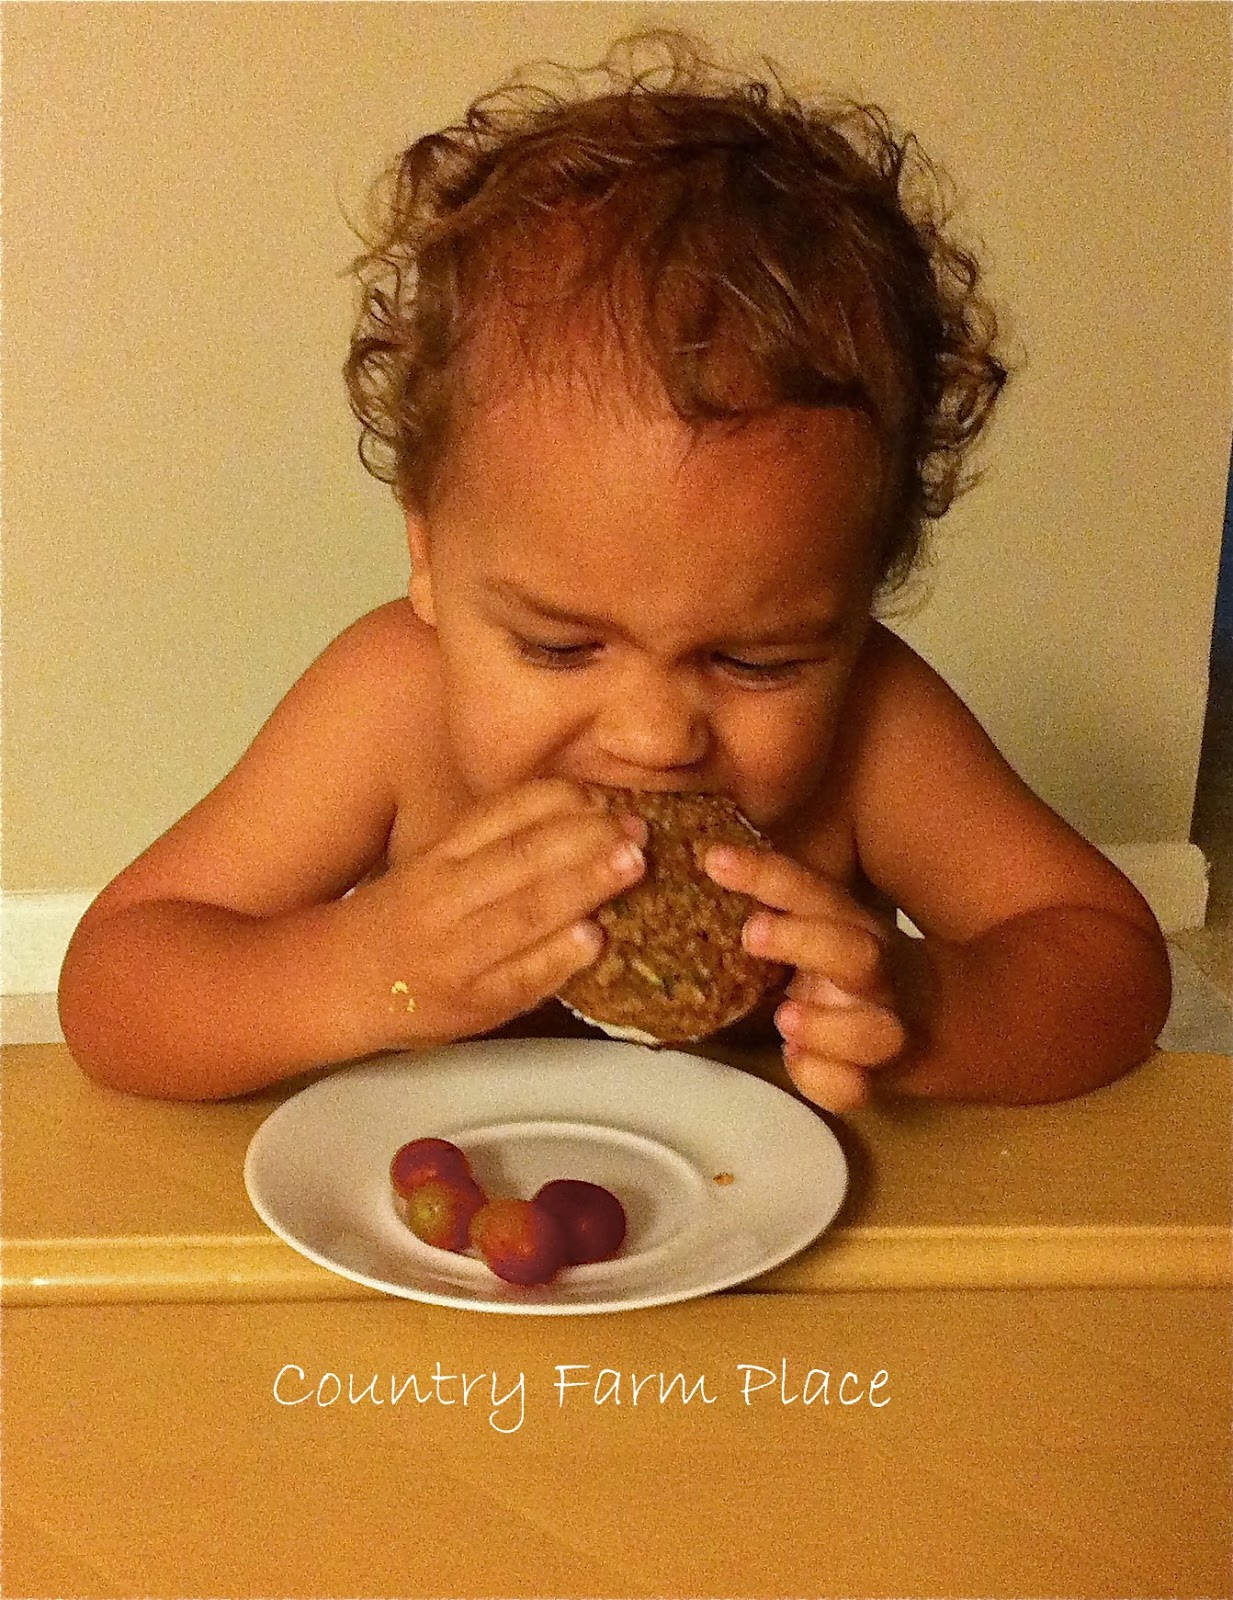
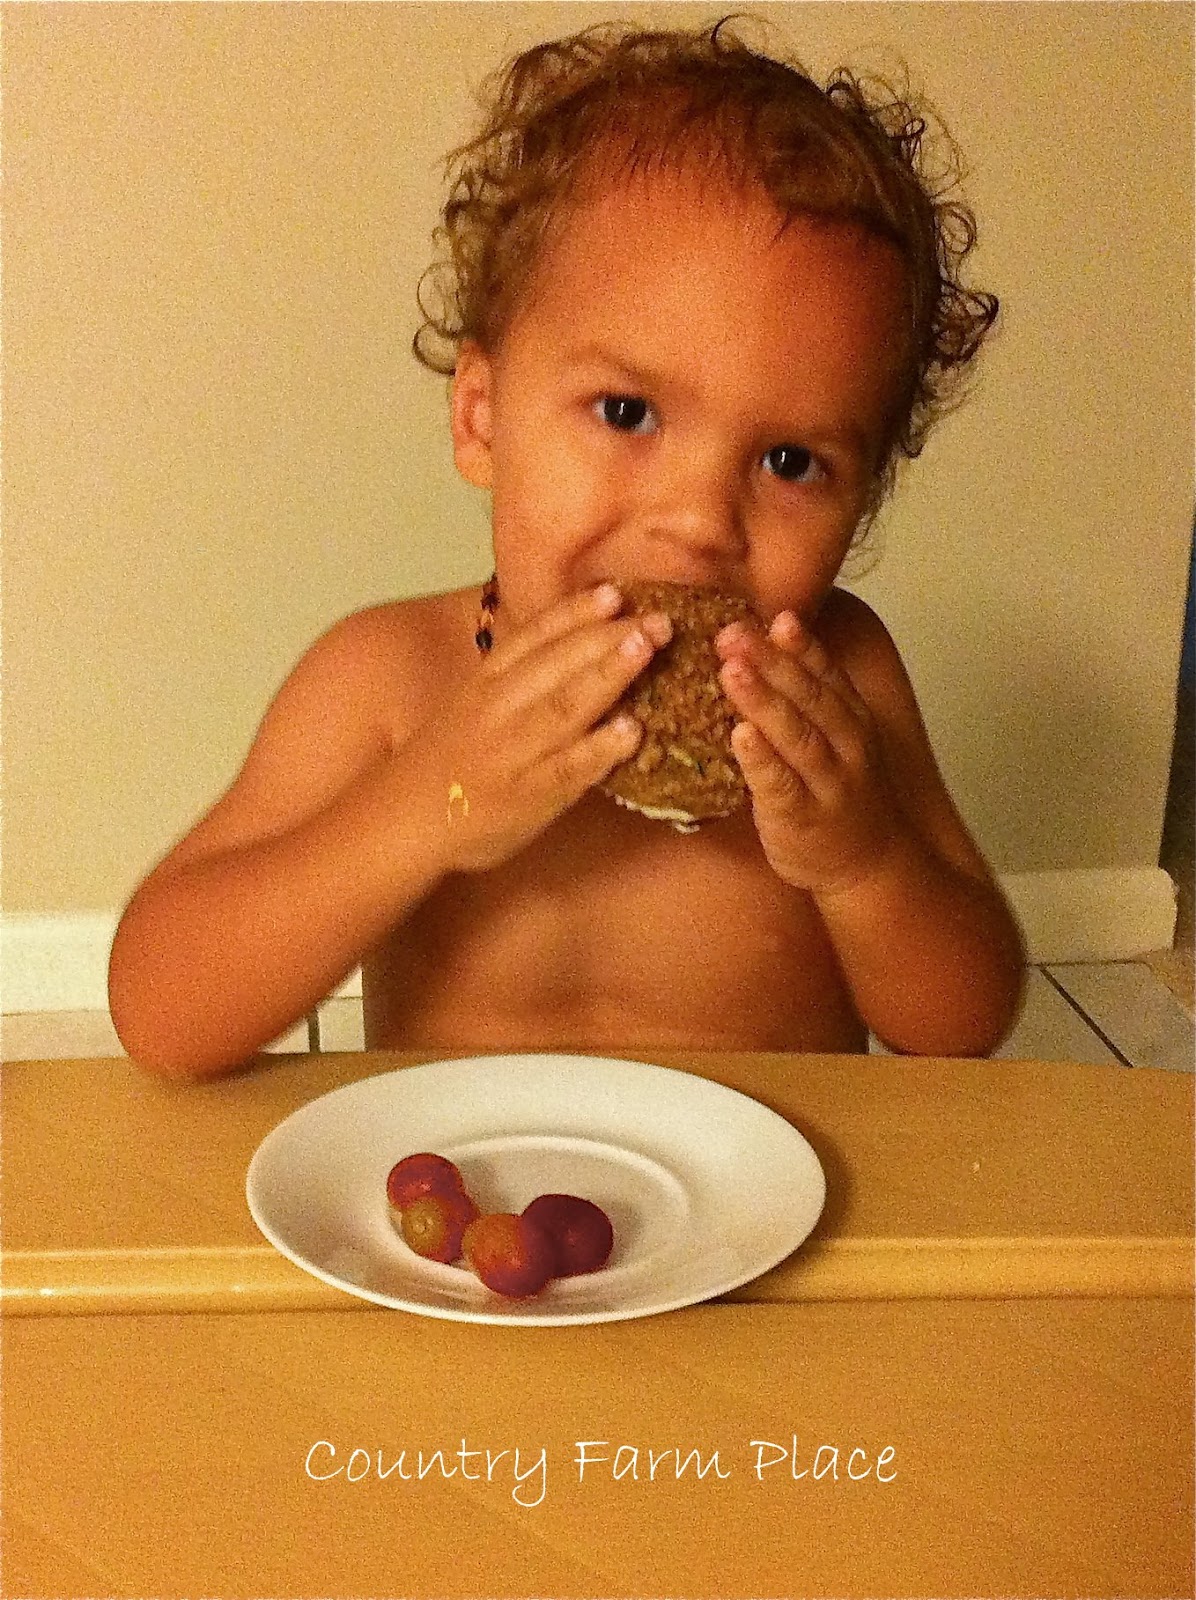
This little guy LOVED them! I was quite surprised that he didn't just take it apart and eat the frosting. Makes me happy that I snuck in some veggies. He didn't eat the whole thing though - we shared =). 

Thank you, Martha Stewart, for another amazing recipe to add to my collection.

Make them yourself:

Happy Baking!

Friday, October 14, 2011

Holiday Crafts - Jar-O-Lanterns

Day                            Night 

Remember those mason jars a bought a couple weeks ago when I went to some yard sales with Hubby? Well, here is the project I've been working on with them.

I was originally planning on turning them into hanging lanterns for our deck. But, while flipping through this month's Southern Living, I found this great idea (click for the tutorial). 

They were so easy to make; I even had Little Man, and my 7 year old cousin helping to paint. 

A couple tips:

1) Don't use Tempura Finger Paints. 
This is the only orange paint I had in the house, and I was being too cheap (and kind of lazy) to go out and buy a different kind. It worked well enough, bought I had to do about 3 coats; and it took forever to completely dry between coats. Also, being outside in our humid weather makes them kind of sticky.

2) It might be easier to print out a face template
I tried both black paint and sharpie, and wasn't 100% pleased with how they turned out (up close you would be able to see what I'm talking about). You can find templates here. These come from Ms. Martha Stewart.com. Her version of the Jar-O-Lantern is a bit different (you paint the inside instead of the outside) than Southern Living's, but the templates will work just the same. 

Happy Crafting!