Showing posts with label Homemade. Show all posts

Monday, February 13, 2012

In the Kitchen - Homemade Butter

I saw this in either Family Fun or Parents magazine - making homemade butter with your little one - and thought it would be fun to try with Bubba. Of course I can't find the page I ripped out to tell you exactly where the idea came from. But I did remember the ingredients and steps to make it; so you're still in luck!


What you'll need
Mason Jar or Mixer
Heavy Cream


Pour the cream in the jar, and shake. 

That's it. 

After about a minute Bubba was tired of shaking, so I took over; and after 10 minutes, I was tired. Above, is the result of our shaking. 


So I threw it in my Kitchen Aid stand mixer for about 5 minutes. 

Strain the liquid and rinse the butter with cold water to remove any excess liquid.

In the bowl, underneath, is the fresh homemade buttermilk - I'm using this for the valentine's pancakes I will be making tomorrow. 


Voila! 

Homemade butter! 

But really, why would I stop there? 

Remember that Strawberry Honey Butter I talked about last Thursday?

I went ahead and tried out the recipe with my new homemade butter. 


{Helpful tip - spray your measuring spoon with nonstick cooking spray so the honey won't stick to it.} 


I think I did something wrong along the way, because mine didn't turn out like the picture on Half Baked. Too much strawberry mixture? Not enough butter? I'm not really sure. It still tastes yummy, it just didn't solidify like butter should. 

I'll definitely be trying it again after we go strawberry picking.


Bubba enjoyed the remains of the strawberry puree. Yummy.

Wednesday, December 7, 2011

In The Kitchen - Cranberry Tartlets

This recipe actually comes from 2 sources. I first found it in a Thanksgiving issue of Martha Stewart Living, as a "resurrecting Thanksgiving remains" kind of recipe. This is not really what the great people at MSL called it, but you get the idea. But here we are weeks after Thanksgiving, and I had yet to make it.

Then, one day, while I was laying down with Little Man and browsing Stumble Upon,  I found this delicious looking recipe for Puff Pastry Cherry Blossoms from a blog called Get off your butt and...Bake! I just knew it was a sign telling me get off my butt and make these tartlets/cherry blossoms that I have been putting off for so long.

I was in luck too! I had a leftover package of puff pastry sheets sitting in my freezer waiting to be used.
 Except, I didn't have any pie filling, and wasn't about to mess with trekking to the store with Little Man. Thanks to the awesome Thanksgiving sales, I had a bag of cranberries waiting for me in my fridge (yay! for bogos). Sweet! I wiped up a batch of  cranberry sauce, and now had a filler for my delicious treats.

You can check out Get off your butt and...Bake for her step by step instructions; and I definitely recommend using the glaze from her recipe. Or visit MarthaStewart.com for their version. I used a little bit from both, the puff pastry and glaze from the blog, and the cranberry sauce and cooking instructions from Martha. 

I followed the instructions exactly from the blog, and the first batch ended up being a total FAIL.


I put them on the cookie sheet as instructed, and ended up with these blobs. I took these out after the 20 minutes, and had to put them back in the oven. I found my puff pastry dough to still be raw in the middle after that amount of time.

Nevertheless, they still tasted awesome; they just didn't look to appealing - but that didn't stop me from eating pretty much all of them.

So the second batch, I placed the little tartlets in a muffin tin, and put them in the freezer for about 15 minutes before baking - like Martha suggests (she actually says to do it for 30 minutes, but 15 works fine). I upped the temperature to 400ยบ, and let them bake for 30 minutes. 


The plate on the left is the second batch. 


Remember to spray the muffin tin (if using it) with non-stick spray first; the tartlets will be difficult to get out without it. 

Side note: the glaze is sooooo yummy! I highly recommend not skimping on that - as I did (not by choice; I just didn't have enough vanilla to make a whole batch). 

Happy Baking!


Monday, November 28, 2011

In The Kitchen - Zucchini Nut Bread Cookie Sandwiches

That has to be the longest name ever for cookie. But, oh man, are they good!


I found the recipe in an issue of Martha Stewart Living a few months back, and proceeded to add it to my growing pile of "recipes to try" - and when I say pile, I mean a 3 inch three ringer binder (that is full). While looking for a few holiday cookie recipes for a friend, I found this; and decided since I had some leftover zucchini, I should give it a try. 

You have to check this recipe out on MarthaStewart.com. You will love it! 


I pretty much followed the recipe exactly. The only differences in mine is that I used 1/2 cup whole wheat flour and 1/2 cup all-purpose flour (instead of 1 cup all-purpose), and I only used 1/4 cup walnuts (I also forgot to toast them).


Refrigerated for 1 hour.


I think I made mine a bit too big because I only ended up getting 8 sandwiches out of this batch (according to the recipe I should have gotten 14).


MMMMMMMM...So yummy!

I'm not normally a fan of cream cheese frosting; but sandwiched between the zucchini bread cookies it is delicious! If you're not a fan either, no worries, these babies taste just as good without it. I would also like to point out that the consistency of the cookies is more bread like - as the name insinuates. Just thought I would point that out, in case you were wanting a more crunchy cookie.


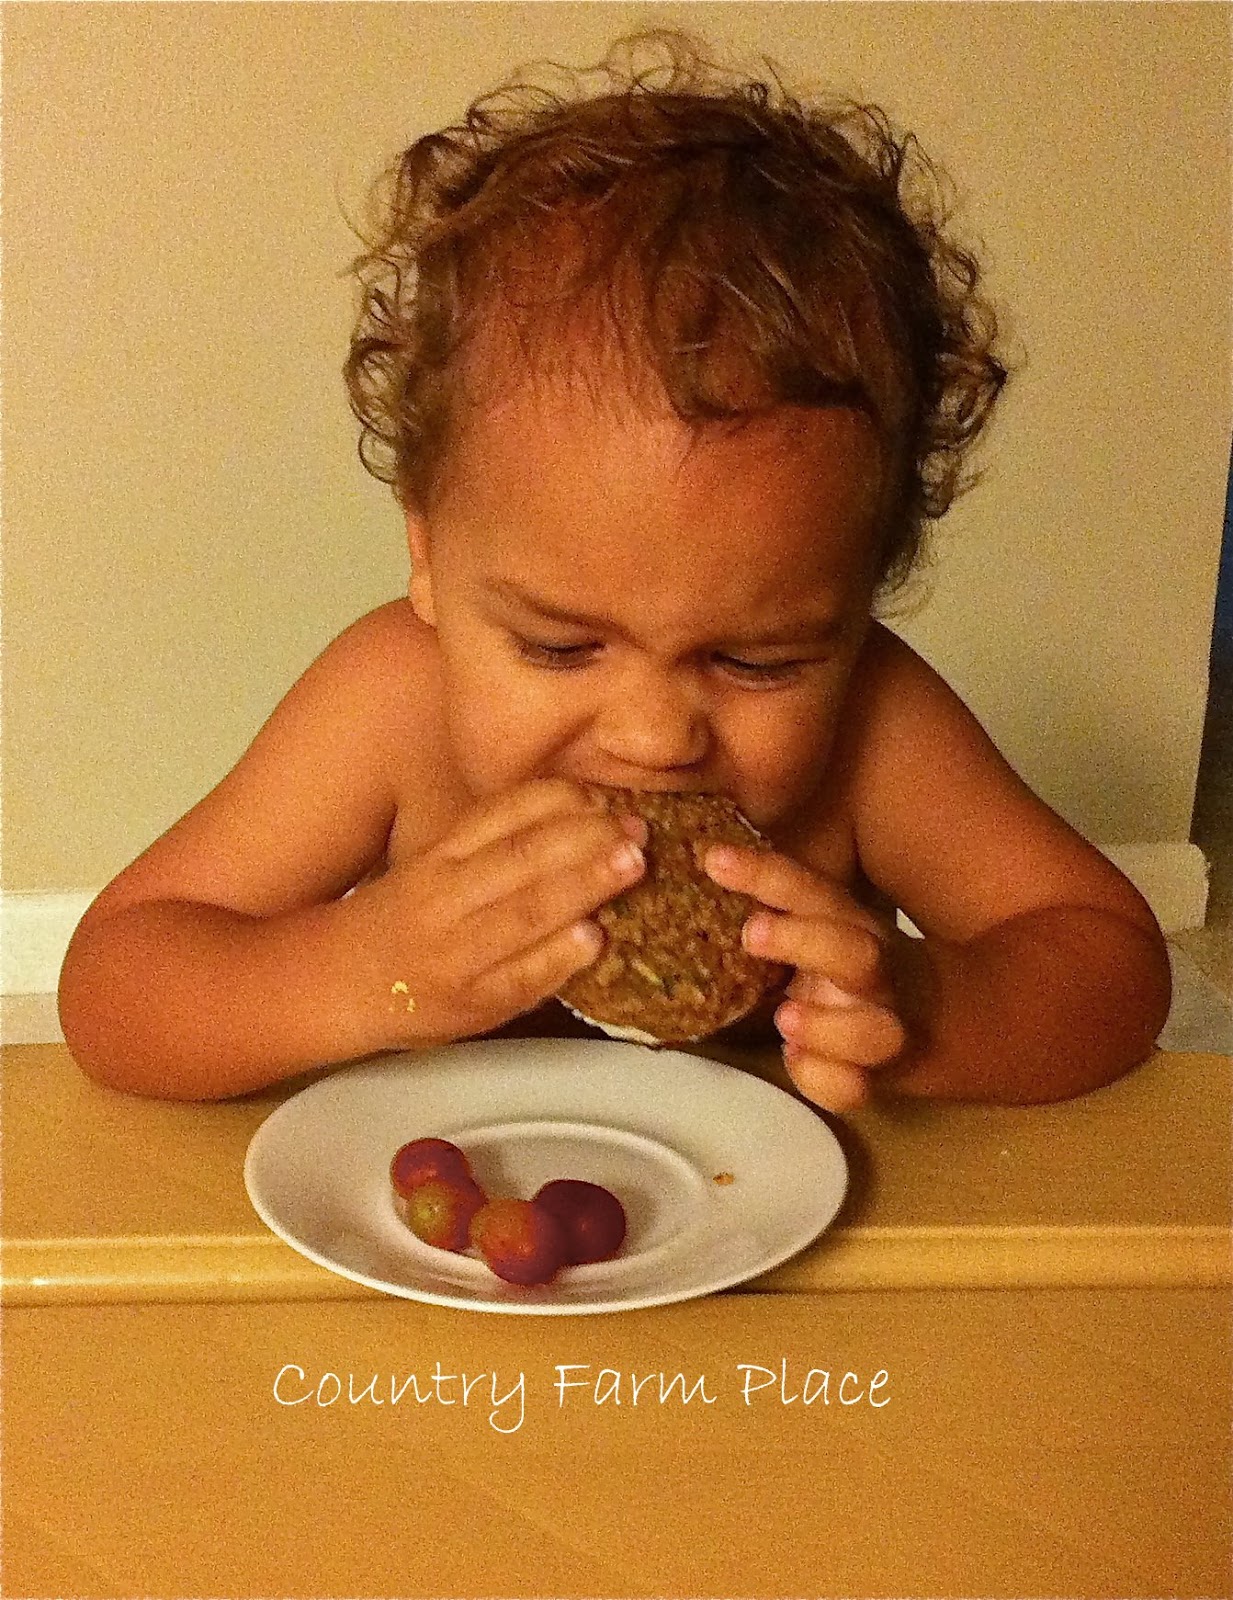
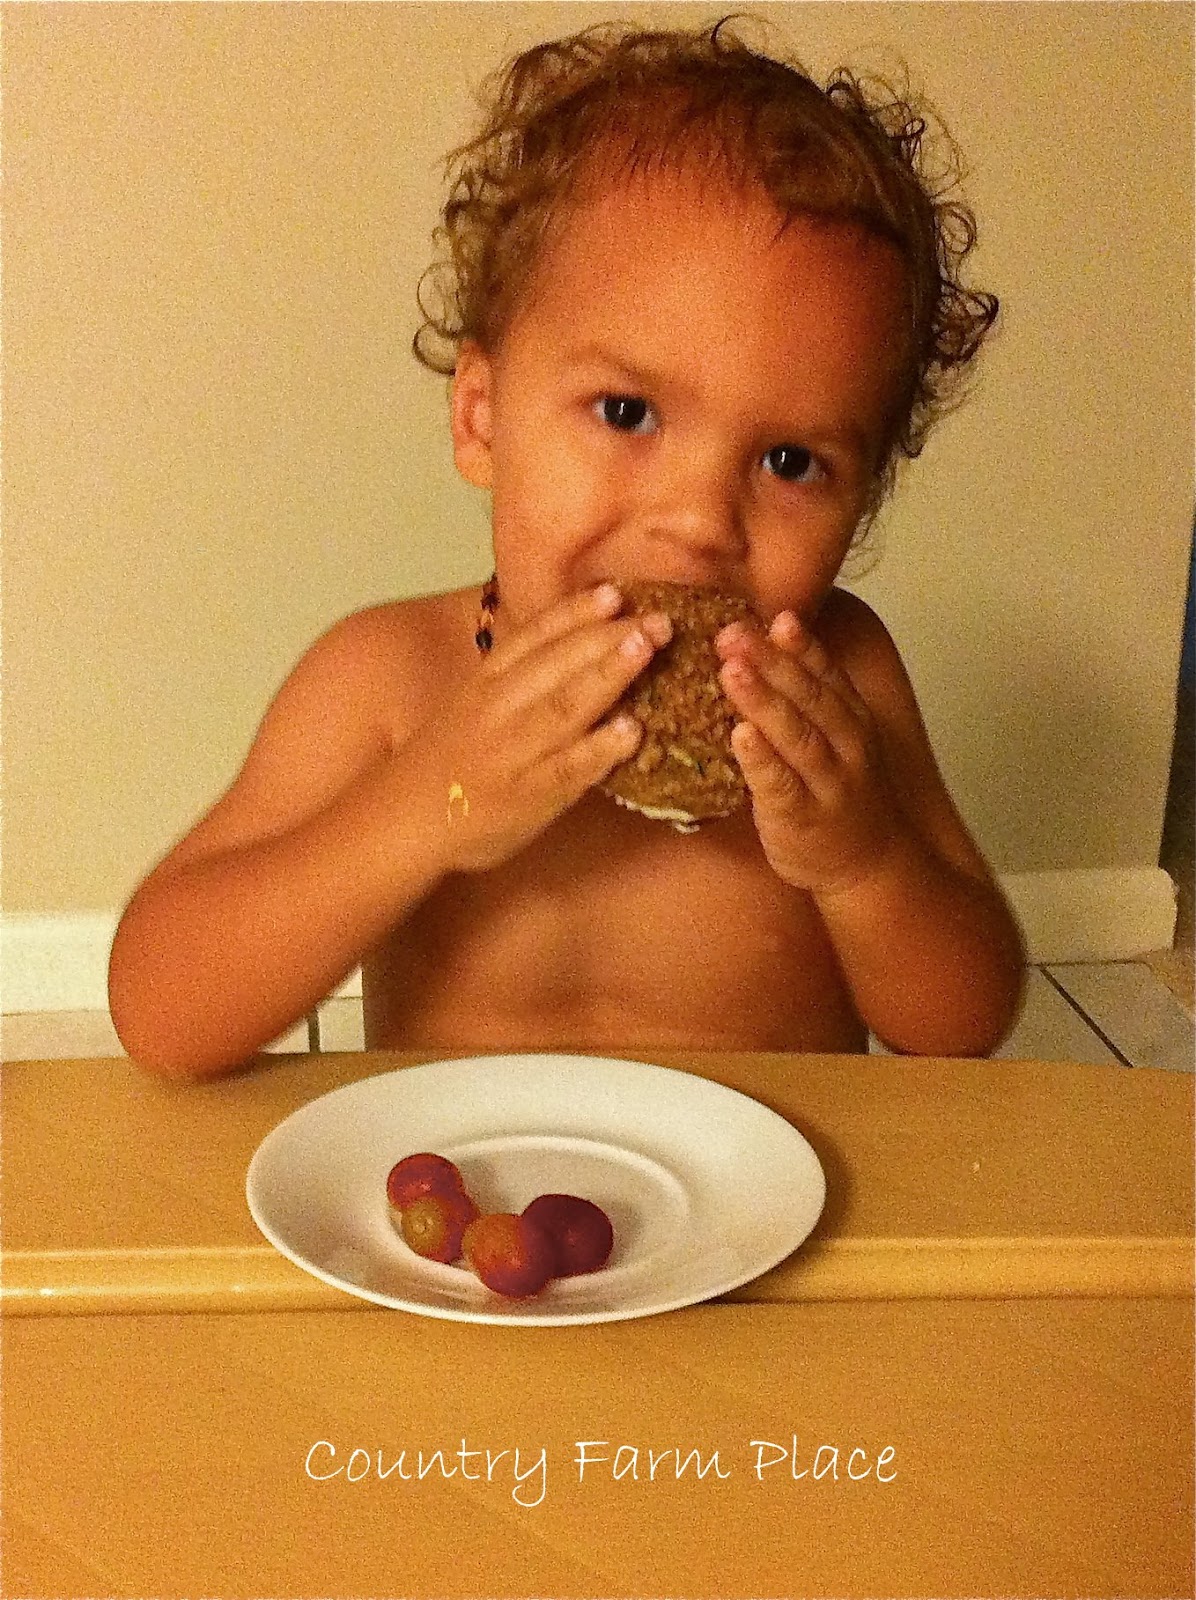
This little guy LOVED them! I was quite surprised that he didn't just take it apart and eat the frosting. Makes me happy that I snuck in some veggies. He didn't eat the whole thing though - we shared =). 

Thank you, Martha Stewart, for another amazing recipe to add to my collection.

Make them yourself:

Happy Baking!

Saturday, November 26, 2011

Homemade Christmas

Thanksgiving is over, which means it's time for Christmas decorating!

I really don't like buying Christmas decorations until after Christmas. So weird. I know. But I don't want to pay full price. Call me cheap. It's true. 

Anyway, I pick up decorations here and there, after Christmas has passed, to add to our collection. 

Last year, I didn't have anything to decorate our mantel, and somehow it slipped my mind to find things for it this year. 

So while flipping through the newest issue of Disney's Family Fun Magazine, I came across this adorable mantel display


and was inspired to recreate it myself (minus the garland).

The Recycled Forest

The cone "trees" were super simple. 


Simply roll paper into cone shapes. Secure with tape (or I used a glue stick), and trim the end.

A-Bottle-Able Snowman

Find the instructions to create these little guys here.

This is my first attempt at decoupage. And I made my own "mod podge" (in the mason jar). The instructions from the Disney website pretty much tell you how to make it, they just don't call it mod podge. You can also find a quick and easy tutorial on the Do It Yourself Divas blog.

Advent Calendar 

This is where the muslin bags I posted about last week come in. 

I bought my off of Amazon. You don't have to use muslin. I also considered burlap, and cotton bags; but found the best price for the muslin. 

As you may remember, I got this idea from Pinterest. The blog that it came from (House and Home), doesn't give to many instructions...so here is a quick tutorial.


Once you have your bags, all you need is stencils and paint (and probably a paint brush would be useful).


Be sure to place a thick piece of paper or card stock inside the bag. The paint will seep through, and you don't want it getting on the back.


Center the stencil on the bag, and paint on the numbers. I alternated between red (odd numbers) and green (even numbers). 


I didn't want the wet paint on the front to get on the back, so I placed them upside down to dry. It took less than 10 minutes to completely dry. 

Fill with your desired gift for advent. I'm putting an ornament in each bag, so Little Man can decorate his own little tree. 


Hang from your mantel with string or cord.

Here is how it all turned out:

The snowball in the center was made out of plastic bags. 

And up close of the snowmen:


I will add that I didn't use orange tissue paper for the noses. I didn't want to have to buy it, so I just cut out little triangles from orange construction paper. 

Happy Decorating!

Wednesday, October 19, 2011

Little Man's Halloween Costume, part 2

Woo Hoo! The shirt is finally finished! I am finally done with this costume! He better LOVE it!


I was going to do the logo on the back as well. But I just don't have it in me to paint that out again. The shirt may end up being a bit too big on C, but he'll just have to live with it. I went to about 6 different stores in search of a toddler size plain white t-shirt, before settling on a child's small Fruit of the Loom from Wal-Mart. 

I used a Stencil Spray Paint in "sliver glimmer," to paint the whole shirt. Then used fabric paint and puffy paints for the logo. I'm not totally happy with the color of the lemon and lime. But it will have to do. {Side-note: It is pretty funny that the colors of the paint I used were called Lemon Matte and Lime Matte, but look nothing like the color of a lemon or a lime}.

I am sooooo happy to be finished with this, and can't wait for next weekend! I'll post pictures of Little Man in costume at Whole Foods!

Anyone else making a halloween costume this year?


Tuesday, October 18, 2011

Little Man's Halloween Costume, part 1

Last month, I talked about Little Man's Halloween costume being my top priority craft project. Well, I certainly have not been acting like it is number one on my list of things to do. The last few weeks I've been side tracked with crafts I'm putting together for my church's nursery, and a host of other projects that have come up. But I have finally come around to finishing it up. 

Little Man will actually be wearing 2 different costumes this year. The one I have been working on is for trick-or-treating at Whole Foods for their Green Halloween. He is going to be an aluminum can inside of a recycling container. I was so proud that I came up with this idea all on my own! And aside from the t-shirt and spray paint I had to buy, all the other materials have come from around our house.


This is the "recycling container" that he will wear. I cut the bottom out of this cardboard box we had lying around; spray painted it blue, and used puffy paint for the writing. My mom drinks Sprite Zero, so those are the cans that I hot glued around the inside. (He will be dressed as a Sprite Zero can as well; the shirt is almost finished). 


I used cardboard from a cereal box and aluminum foil to create the "pop top" hat. 

I should have the shirt finished tomorrow; and can't wait to share it with you. Next weekend, I will be able to share the complete finished product when we go trick-or-treating!  So be on the look out for my adorable little guy in costume!

Monday, October 3, 2011

DIY Chalkboards

I stumbled upon this amazing website, Fellow Creatives, and found this great idea to turn old picture frames - or, really anything with a flat surface - into a chalkboard. A friend of mine has a chalkboard made out of a silver platter, and I have always thought that was such a great idea; but it never dawned on me to use an old picture frame. I totally had one of those "why the heck didn't I think of this before" moments.


I picked up this picture at a rummage sale for $2 about 6 months ago. 

If you haven't already figured it out, I have a bad habit of buying things with good intentions of turning them into something spectacular, and taking my sweet time to follow through. I did the same thing to what are now our dining room chairs - it only took me about 8 months to finish them (to be fair, they were in need of a lot of work, and there were other extenuating circumstances). 

At the time I bought it, I thought it was a neat picture, and planned on hanging it up somewhere. Then, buyer's remorse set in, and for months I would look at this and say "What was I thinking? I have no use for this." 

Anywho, I taped it off and put paper around the edges to protect the wood. Picked up a bottle of Chalkboard Spray Paint, and finally turned it into something useful.


Ta Da! 

I decided to paint/de-stress the wood so it would match my dining room chairs (I'll have to post a picture of those - I love how they turned out), since it will be hanging near them. 

A couple tips:

1) Paint the frame first, then spray on the chalkboard paint.

Fellow Creatives suggests doing this the other way around, and I found it to be more difficult to paint the frame. I ended up having to add a second coat of chalkboard paint, and that didn't work out too well. Which leads too....

2) If you have to add a second coat of chalkboard paint, make sure the surface is completely clean of any small pieces. 

You would think this goes without saying, but I thought my surface was "clean enough," and ended up messing up 3 sides of the outer portion of the glass. You can't tell by this picture, or if you are standing far away; but if you get up close you can tell where I had to wipe the paint away and start over. 

P.S. The bench that the chalkboard is sitting on, is also a rummage sale find. Picked it up for $10, and just reupholstered it with some fabric I found on clearance at Calico Corners.

Wednesday, September 28, 2011

Kiddie Krafts #1

I try to do some kind of craft with Carter every day. Partly because I want to foster his creative side. But mainly because it keeps me from going crazy all day. Today, we were bowling with a little plastic set my mom picked up for him at Walmart awhile back. And since his play area is all carpet, we were having trouble keeping the pins from falling down before he rolled the ball. Which gave me the idea to make a homemade bowling lane for him. Nothing fancy, but it did the trick.

What you need:
    * Rectangle piece of cardboard
    * Black and White paint (I used Crayola Tempera Paint because that is what I had on hand)
    * Pencil

First, at one end of the cardboard, I used the bottom of one of the bowling pins to as my guide for the circles. For the back row, I lined up four so I could determine the spacing. On the other end, I drew nine triangles in a "V" shape. 


Next, I painted the circles and the triangles black. 


Carter was making a masterpiece of his own while I was painting.

After the paint dried, I added the numbers to the circles. Not only is this tons of fun to play with, we can work on his counting at the same time. {Side-note: right now he can count to 2 :P}

Voila! Let dry - it took about 15 minutes to dry completely for me (and that was the longest 15 minutes ever with a toddler screaming "I bowl, I bowl"). I didn't do anything fancy to mine, because I let Carter add his own decorative touch to it later. But you could totally paint the cardboard a different color, or add a funky design. And I am aware that my arrow is not even...I threw this together in 15 minutes, so I was okay with the imperfection.

He had so much fun - for 15 minutes - bowling and setting up the pins. 


And if you were wondering what the finished product of Carter's painting looked like......
I know.....he is so the next Picasso, right?

Happy Krafting!